Do you know that 72% of Americans have never tried to start composting? In the same time, we produce almost 40 million tons of food waste every single year (150,000 tons a day). Every one of us put in trash approximately 1 pound (0.45 kg) of food every day, and just 5.3% of it we use for composting. What a shame!
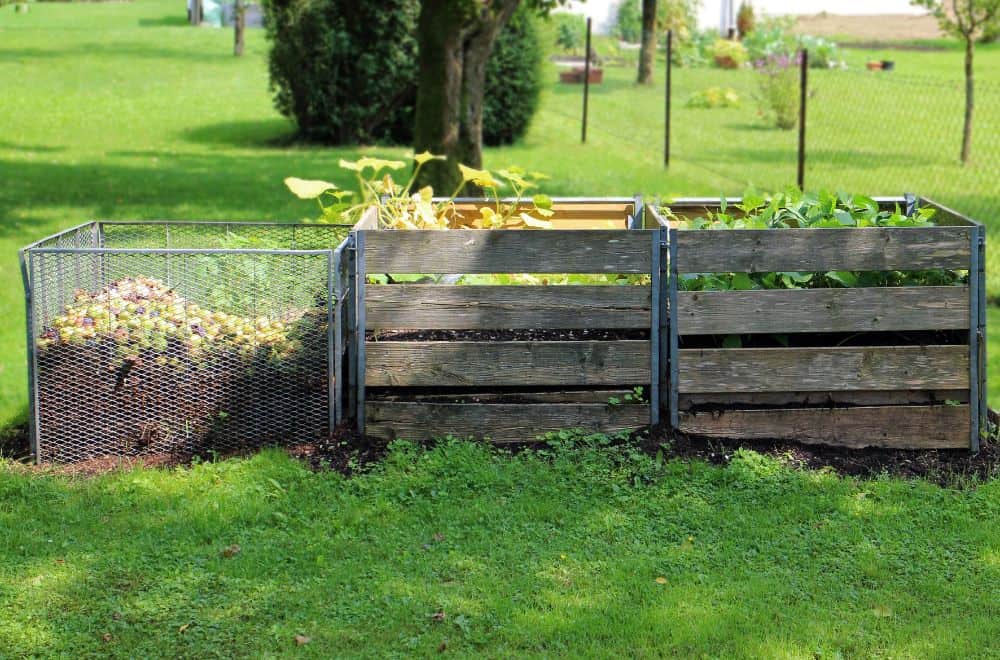
If you are one of those people who appreciate the advantages of composting, you should try my favorite way of it. It is not a big deal making a 3 bin compost system, especially if you have already made a compost bin. If you have your own yard, you should try to organize this system without any hesitation and discover all the benefits it provides.
Why Using a 3 Bin Compost System
The huge advantage of this triple compost bin is that it will reduce the weight of the material you have put in your compost pile. It is incredibly beneficial, especially if you can’t or don’t want to spend time turning over the heavy bunch of trash for months.
For years, a compost tumbler has been my favorite unit which helped me to avoid hard working. However, even though a handle makes rotating this device comfortable I have faced the bigger and bigger bunch of heavy and wet material daily.
Also, I used a worm composter for a while. It is proved to be very useful when you need to get finished compost in ten to fifteen days. However, you can use this way of composting if most of the waste you want to add is from your kitchen.
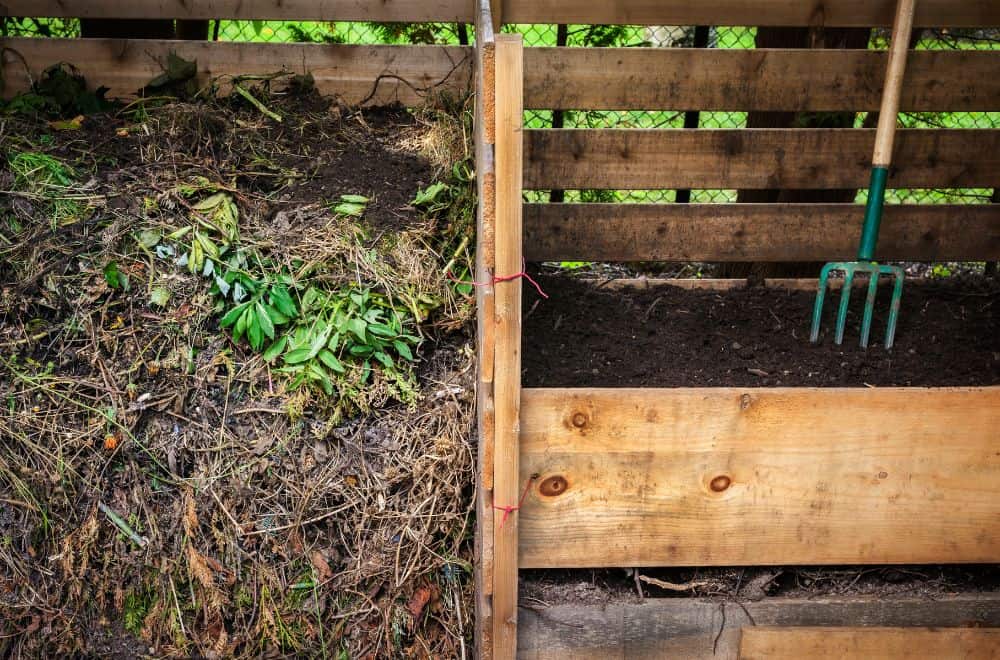
On the other hand, the 3 bin system will allow you to mix various ingredients from both your kitchen and garden, make compost throughout the year, and use it when needed. The secret is in three separate sections.
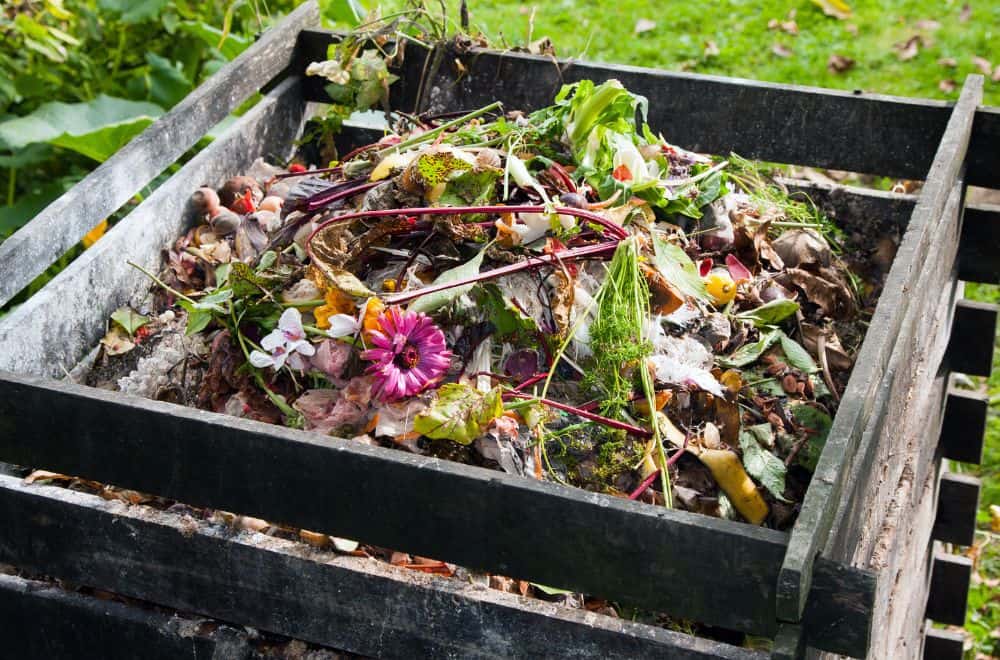
The first one is the place for fresh waste from your kitchen and yard. When the ingredients start breaking down and begin to form recognizable compost, you should move it to the second part.
Why is it essential? Because every mixing the new material with the compost that has already started to develop will prolong the process of decomposing.
Since the process of composting goes smoothly, you can move the finished product to the third section. This is compost which you can use when needed. By following this process of rotating, you will establish an undisturbed circle and always have usable compost at your disposal.
Let me describe the whole process in details and show you how fun, useful, and easy making compost with 3 bin compost systems can be.
The Three Stages of Composting
The point of 3 bin compost systems is to follow the phases of compost development. That means that you should use every particular bin according to one of three separated stage of composting. Let’s take a close look at the issue.
The first stage
The first stage implies building up the activity of bacteria and fungi from the soil. As a result of this activity, the temperatures of your pile will increase. The only thing you should do is to turn over the material regularly and monitor the level of moisture and the level of heating the material.
This process may take a couple of weeks, but it is not rare that you need to wait more than a month to get the first part of the decomposing process finished. It primarily depends on the recipe you use, size of your pile, and the frequency of overturning the material. During this stage, your ingredients should stay in the first bin.
The second stage

The second stage implies ‘cooking’ the material. During this period, bacteria and fungi work continually. You shouldn’t disturb them too much except if noticing a foul odor or signs of rotting of the material.
At the end of this period, all the ingredients should entirely break down and become a compact mass. Keep in mind that all the content should be in the second bin during this phase.
The third stage
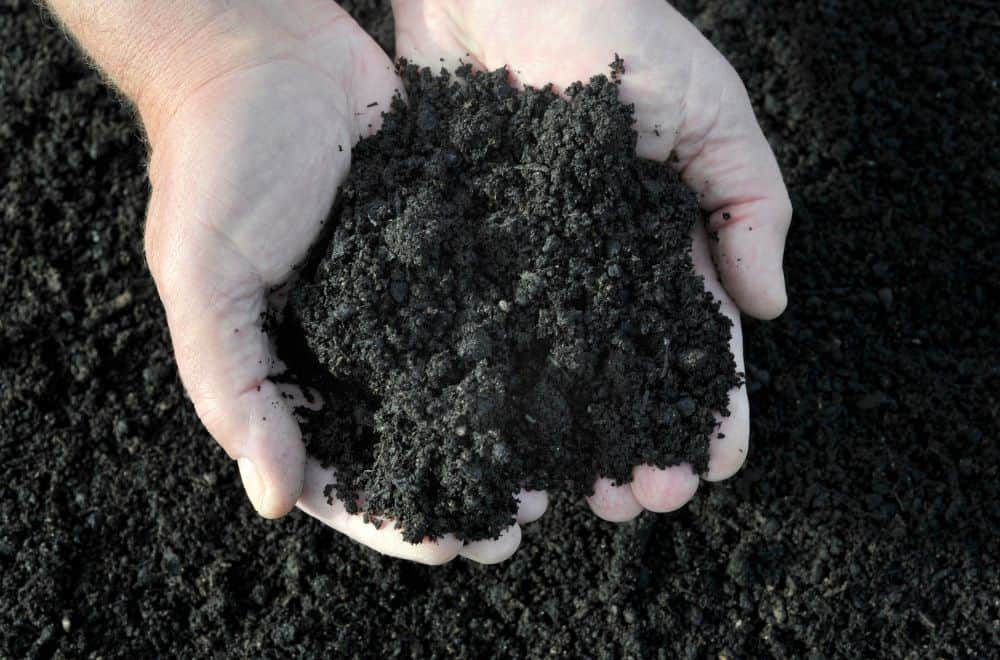
The third stage implies that your compost pile has become a mixture of unrecognizable material. If you have done everything ‘by the book,’ you won’t be able to determine different parts of the pile. In fact, obtained compost will remind you of the soil.
Keep this material in the third bin. During this part of the process of decomposing, the temperature in the center of the heap will drop over time, and you will get a bunch of high-quality compost which you can use to enrich the soil in your garden.
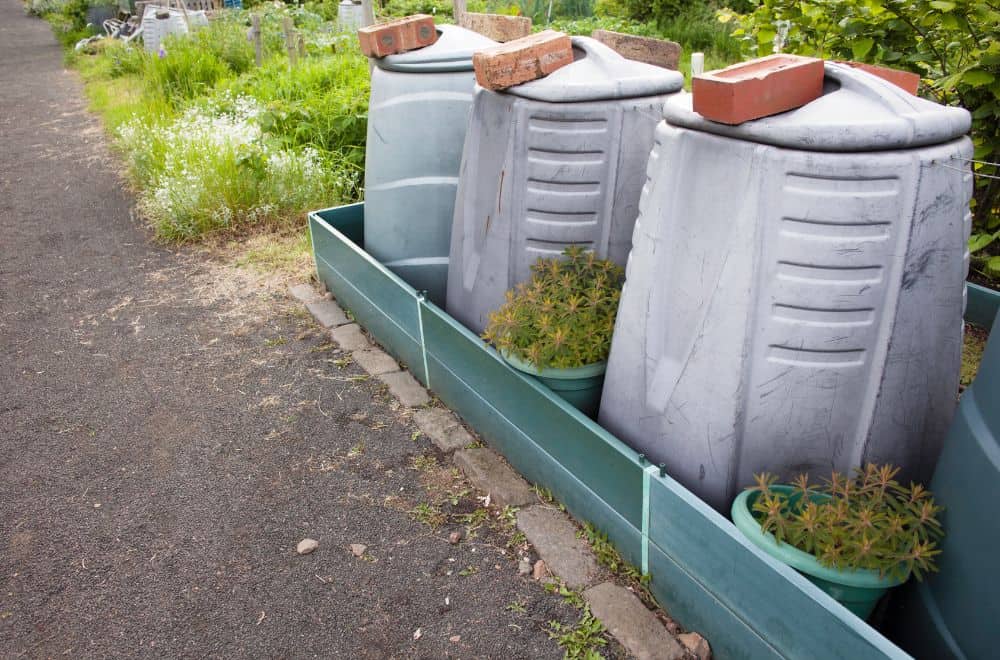
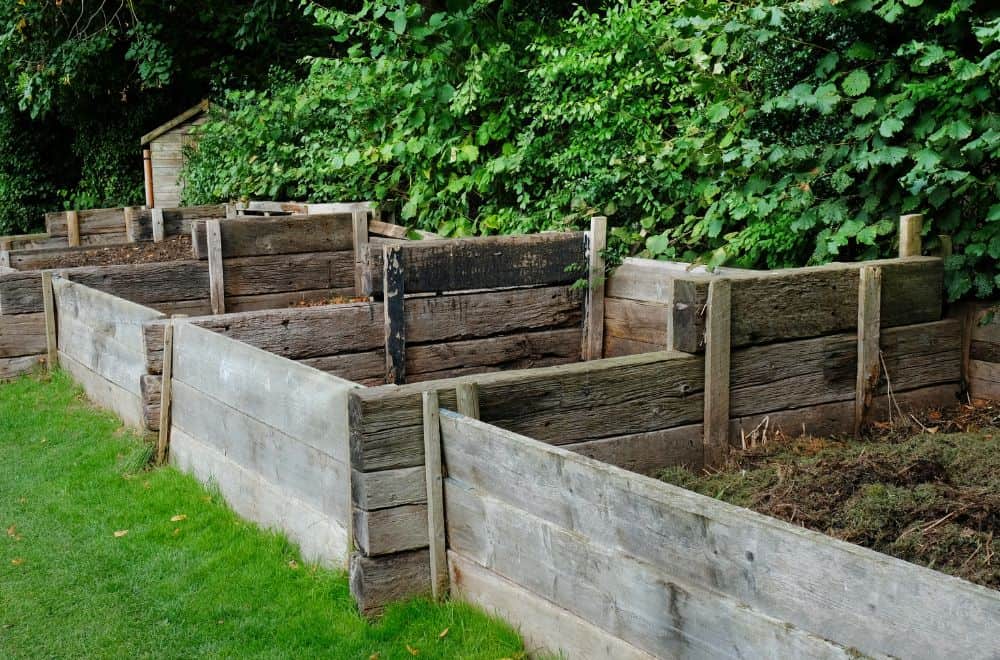
The 3 bin System
The first advantage of this system is that you can make the whole unit by yourself. If you are skillful and know how to handle tools, you can build it by using old pallets, cinder blocks, or wood slats.
Prepare a saw, hammer drill, sledgehammer, measuring tape, a box of 2-inch (5 cm) and 2.5-inch (6.35 cm) wood screws, nails, staple gun, a package of staples, wire netting, and pine pallets. That will be enough for building a decent system.
The first bin
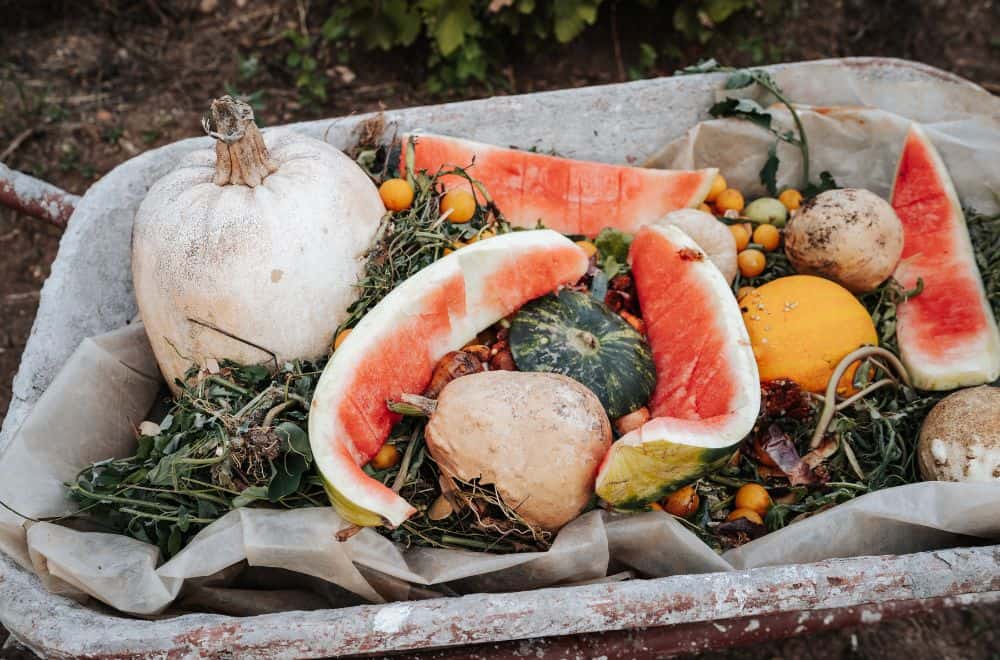
This is the place where the process starts. Put all the fresh, organic ingredients from your household here and let them decomposing. Perhaps you have already known that there are two different kinds of stuff you can add to your compost pile – green and brown.
Green material is high in nitrogen and includes:
- Grass clippings
- Coffee grounds
- Tea bags
- Kitchen waste
- Plant trimmings
- Weeds
- Seaweed
- Eggshells
- Animal manures, except dog and cat one
Brown material is high in carbon and includes:
- Dried leaves
- Straw and hay
- Corn stalks
- Shredded branches
- Wood chips
- Pine needles
- Coffee filters
- Paper
- Cotton fabric
- Dryer lint
- Corrugated cardboard
Always take care to keep the 30:1 ratio of carbon and nitrogen.
|
C : N ratios in home compostable materials |
|||
| Green material rich in nitrogen | C : N ratio | Brown material rich in carbon | C : N ratio |
| Chicken manure | 7 : 1 | Ash and wood | 25:1 |
| Vegetable peelings | 12 : 1 | Nutshells | 35 : 1 |
| Lucerne (Alfalfa) | 12:1 | Fruit waste | 35 : 1 |
| Sheep manure | 16 : 1 | Corn stalks | 60 to 75 : 1 |
| Food waste | 17 to 20 : 1 | Leaves | 60 to 80 : 1 |
| Grass clippings | 17 to 30 : 1 | Straw | 75 to 90 : 1 |
| Cow manure | 18 : 1 | Pine needles | 80 : 1 |
| Seaweed | 19 : 1 | Shredded newspaper | 175 : 1 |
| Weeds | 20 to 30 : 1 | Sawdust | 325 to 500 : 1 |
| Coffee grounds | 20 to 25 : 1 | Shredded cardboard | 350 : 1 |
| Horse manure | 22 : 1 | Wood chips | 400:1 |
| Fruit waste | 25 to 40 : 1 | Wood twigs | 700 : 1 |
| Mixed garden waste | 30 : 1 | ||
You should decide how large compost pile you want to make. My advice is to be modest. Smaller heap will decompose faster, and you will get nice, mature compost earlier. Every time you add new waste, try to turn over the material to mix stuff and add some oxygen to the pile. It will make the microorganisms easier to do their job.
Always put a thin layer of soil above the new material. That way, you will add new bacteria and fungi to the pile and prevent any foul odor and consequential complaints of your neighbors.
Don’t forget to keep the heap moist. As long as the material resembles a sponge when you squeeze it, you can be satisfied.
If it is too dry, you just need to add water. Otherwise, if you notice more than a drop or two of water while squeezing composting material, you can be sure that it is too wet. Turn it over to balance the level of moisture and air as well as optimize decomposition conditions.
After a few weeks, you will notice that your compost pile starts to shrink. That means that the process of decomposing is progressing. Don’t forget to purchase a compost thermometer and check the temperature in the center of the pile from time to time.
Once you notice that the temperature of the material starts decreasing, it is time to turn it over. Try to put all the undigested ingredients and stuff, which was placed outside until then, into the center of the heap.
The second bin
Once the material placed in the middle of the pile reaches 140-150 F (60 – 65.5 C), you should transfer all the stuff into the second bin. This process has one huge advantage.
Well, while relocating the content from the first section to the second bin, you will entirely mix all the material in a way you can’t tumble a bunch within the first one. In the same time, you will aerate the content appropriately and allow a more proper and faster composting system in the future.
After you finish transferring the first compost pile to section number two, your first compost bin will be empty and prepared for new ingredients.
Your primary goal is to make a cycle of regular composting. That means that you need to take care to avoid adding any new stuff to the second bin from the moment of relocating this material from the first one.
The second bin is a transition section, and its point is to allow additional breaking down existing ingredients and smooth further process of composting.
The third bin
Once the second bin is entirely filled, you should relocate the heap to the third one for the further process of decomposing. When you notice that your pile is changing and shredding, the time for action has come. Decreasing the value of the material is the decisive parameter when your heap is ready for the final phase.
Keep in mind that you should move the content of the first bin to the second, empty one at the same time. At that moment, you have the second and third section full, and free space in the first one for the new stuff. While adding fresh ingredients to the first bin, you need to monitor the old material placed in the other two simultaneously.
After noticing that the bin number one is almost full for the third time, material from the third one is probably fully composted, and you can start using it. However, if you spot larger pieces of food or can recognize the particular plants in a heap, your compost material is still not prepared for use.
How much time you will need for the whole process depends on the ingredients you put into your pile, the amount of waste you collect in your household, and the speed of creating the material that has to be composted. If you fill bins too fast and ingredients have no time to decompose appropriately, you should consider the bigger system.
Additional Tips
If you want to get really high-quality compost, you need to be dedicated and to stay informed. That means that you should be aware of every problem you can encounter, including:
- Determining the exact moment when your compost is finished and ready to use
- Having too many materials
- Lack of composting materials
- Having a wrong recipe for appropriate composting
- Incorrect process of composting
- Finding a proper rhythm of adding new materials to your compost pile to establish a never-ending process of composting
There is one more common problem you can face. If you can’t reach the necessary level of heat for starting the process of composting, you should purchase finished high-quality compost (booster) and add it to the first and even second pile if needed.
The point is to increase the number of microorganisms which will help your pile to start cranking. For this purpose, you can also pick up some compost tea and spray it over the heap.
Conclusion
Always remember that you mustn’t add new material in the second and third bin. Fill just the first one if you want to get excellent compost for your garden.
While the pile is warm to the touch, the process of composting is going on. Avoid using unfinished compost because it can burn your grass and plants.
Leave a comment