If you have ever tried to change the line of your weed eater, you know how frustrating it can be, especially if you have experience with just more massive machines such as a riding lawn mower or self-propelled lawn mower. However, many people don’t know that there is a quicker and easier way to finish that annoying job.
Instead of losing your temper, nerves, and time with spools which twist together untidily, choose to replace the head of your unit. This is certainly not the only reason for replacing the trimmer head, but whatever the reason is, the replacement procedure for this part of the weed eater is always the same. Let’s learn together how to do this.
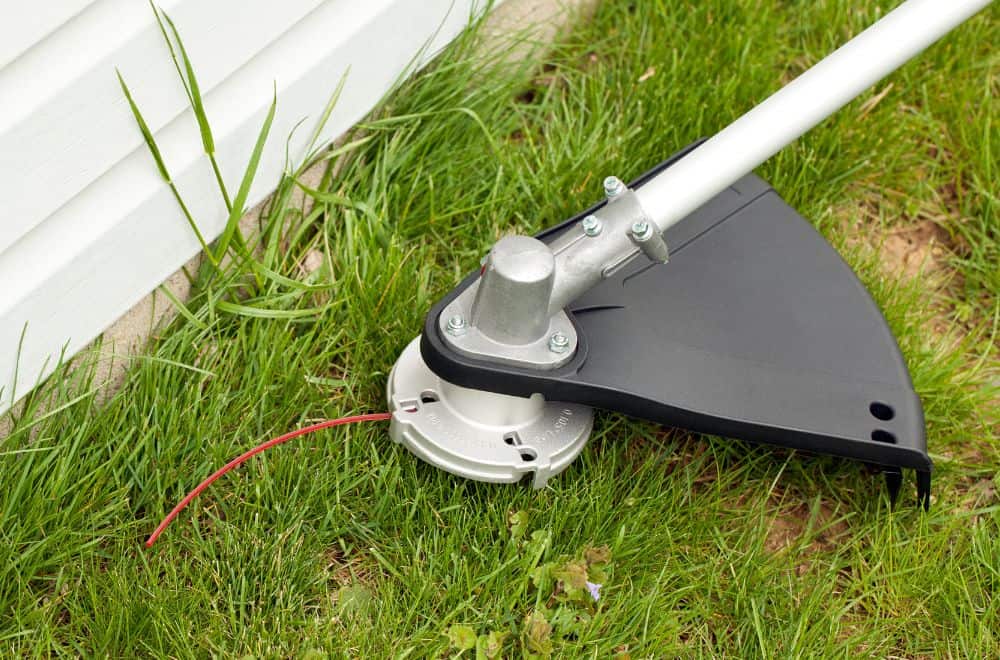
What Is the Head of the Weed Eater?
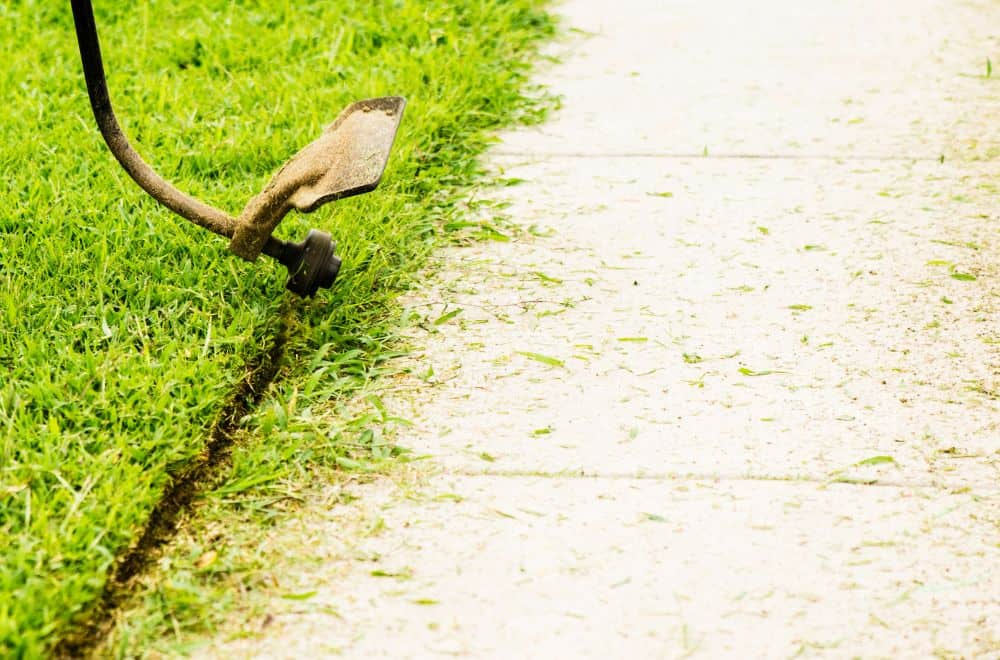
Let’s start by clarifying what the head of the weed mower actually is. Well, it is one of the crucial parts of your device which contains so-called ‘trimmer line‘ on a spool.
Also, on the bottom of it, you can find a relatively small bump knob which allows extending more line when you need it. After you depress the throttle trigger on your machine, it will power the trimmer head. Then, it will start turning through a cable in the shaft almost immediately.
In general, when you use a line for more substantial work than suggested, you will need to replace a trimmer’s head from time to time. Regardless of whether you have gasoline or electric weed eater, the process of replacing its head is quite similar.
Possible variations in mounting procedures are usually quite slightly, and they depend on the brand of the weed eater you own.
I will give you the universal rules on how to do that job, but if you want to be precise or you are still not sure about small differences between models, you can always use the manual before starting attaching the new head.
The Replacement Procedure
As always when you need to replace something on your weed eater, you should start the procedure with cleaning. After turning the engine off, let the unit become entirely cool.
If you have an electric model, the next step is to disconnect the power cord. If you have a gas powered weed eater, it is enough to disconnect the spark plug boot.
The next step is to wipe off the head of your device by using а shop towel, some old towel, or any other wiping cloths to remove as much debris and grass clippings as possible. When the trimmer head is clean, you can start removing it.
One more thing! Determine on time the type of retaining nut and triangular adapter piece which fit the threaded shaft of your unit. Now, let’s start!
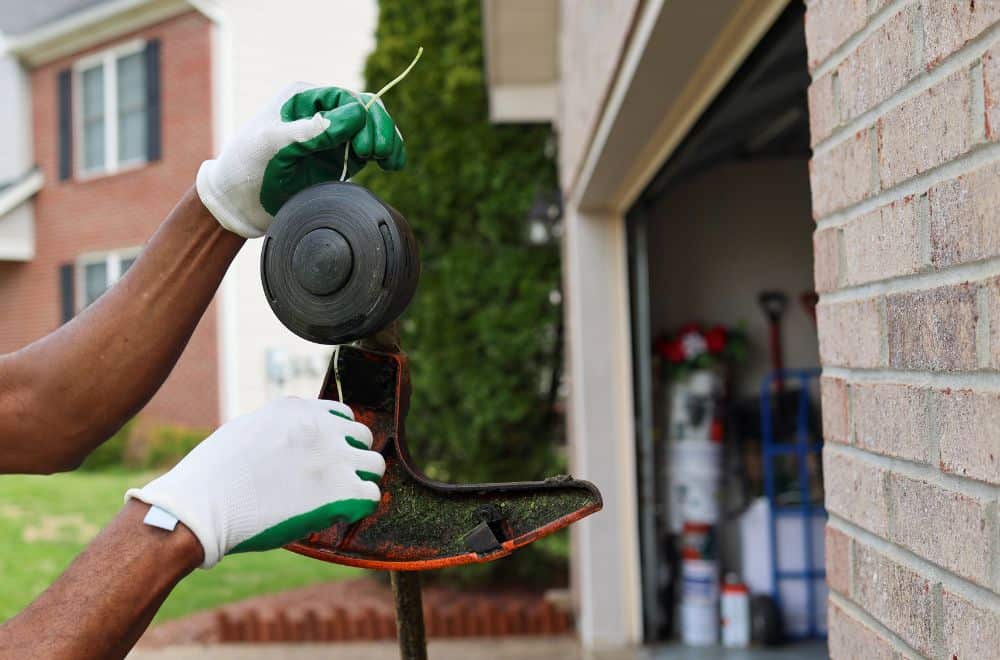
Step 1. Remove the head of your weed eater
At the very beginning, you have to remove the spool of the line from the housing of your device. The tried-and-true method implies pushing in, twisting, and pulling off the spool.
It is possible that the head of the model of weed eater you use is a bit different than the most common ones. In that case, just try to follow the instruction manual enclosed by the manufacturer with the product purchased. Then, you probably won’t have any troubles to remove the old head.
If you have a standard model of the weed eater, you need to find a retaining nut or bolt which attach the head to the device. Unscrew it and pull it off. Don’t be confused with the direction of their unscrewing. Depending on the manufacturer, some of these pieces will be reverse-threaded.
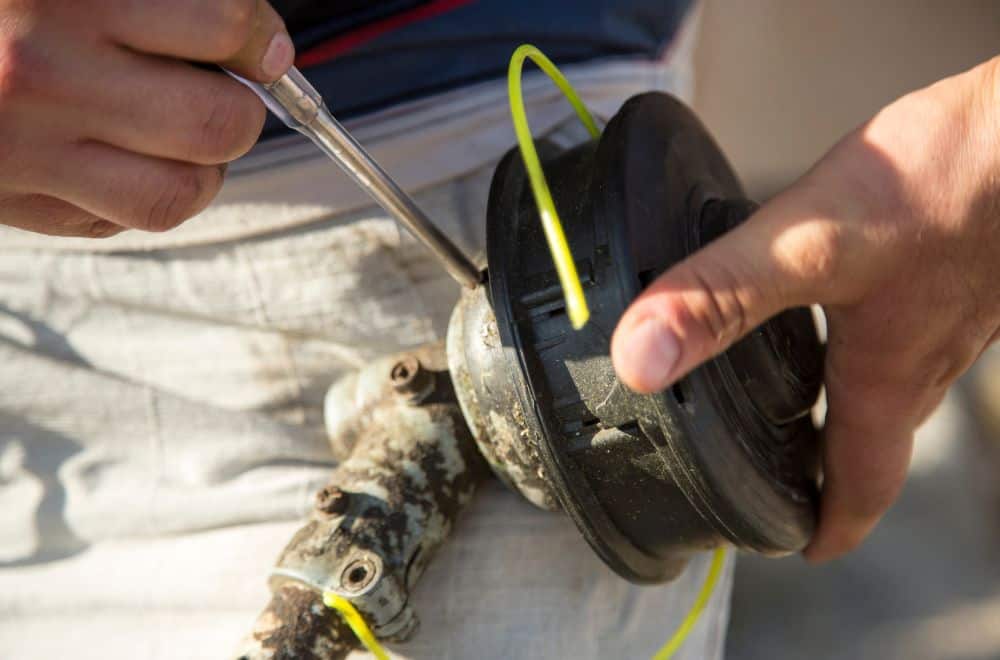
Step 2. Loosen the head of your weed eater
This part implies pulling the line spool out of the head of your device. To do this part in the right way, look at the head where you should find two small holes first. One is in the inner, and another is in the outer part of the trimmer head.
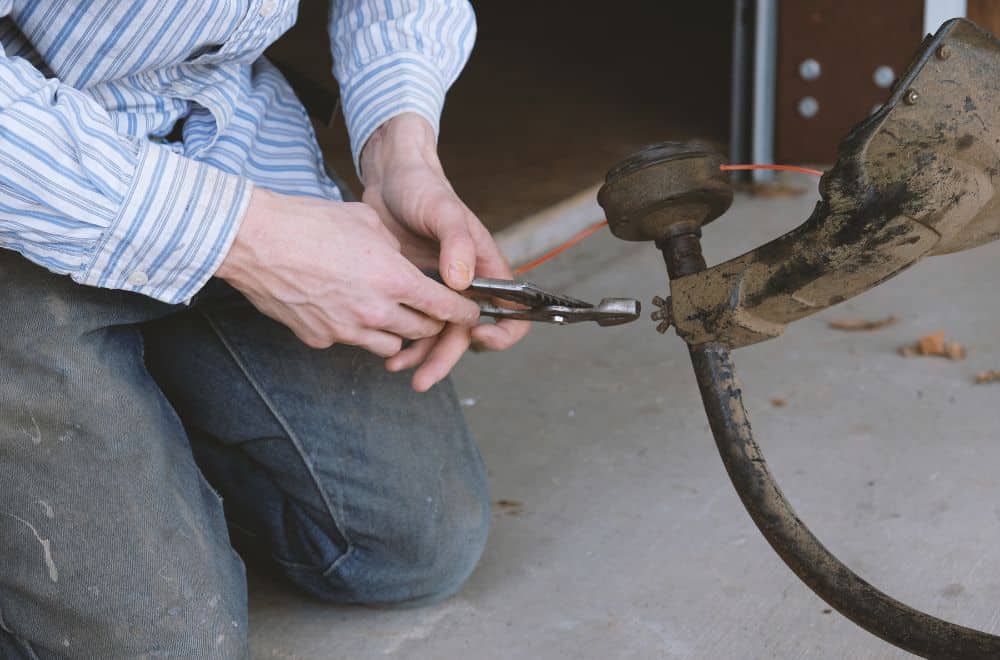
Put a smaller screwdriver into these two holes to hold it in a desirable position. Then, you should use an adjustable wrench to remove the center nut and pull the old head off.
Detach the head off with a cordless screwdriver and try to loosen it. If you have done it appropriately, it will be enough to pull off the nut located on the bottom of the shaft.
Step 3. Fasten the new head on your weed eater
Insert a new head on the shaft of the unit and use a screwdriver to block the holes. Afterward, if the model you use has an exterior nut, you need to replace it by using an adjustable wrench.
Insert the two ends of the line spool through the holes on the outer part of the head, but keep it loose for a while. Then, you just need to tighten the bottom bump knob onto the new head.
Necessary Tools for Weed Eater Head Removing

In order to replace the head of your weed eater, you will need an appropriate tool, enough time, and little skill. In general, you will need the following stuff:
- The new weed eater head
- String
- A shop towel, some old towel, or any other wiping cloths for cleaning
- A small screwdriver
- An adjustable wrench
- A flathead screwdriver
This job is not too difficult, and you can do it by yourself. Just follow the instructions carefully, and everything will be just fine.
Warnings
Don’t begin this job until taking the necessary safety measures. Be aware that the line of your weed eater will move very quickly while the device is turned on.
If you replace the head incorrectly, there is a possibility to injure yourself, other people, or animals next to you while using your unit next time.
Always follow the instructions given in the user guide which manufacturer enclose with the purchased product. Most of the weed eaters have similar heads, and their removing is almost the same.
However, there are a few brands with models which require a different approach. If you have one of them, spot the differences, follow recommendations, and you won’t have any problem to finish the job the way you want.
Leave a comment