Worm composting (vermicomposting) is the process of getting high-quality compost (worm castings) from organic waste by using red worms. So obtained compost is rich in nutrients, including essential minerals such as nitrogen and phosphorus, for example. It is actually fantastic how these small creatures can make valuable soil amendment from kitchen waste which is basically just trash.
The whole activity is simple. Worms use food scraps which slowly pass through their tiny bodies. The matter, which exits from the worm’s tail, is valuable compost you can use for enriching the soil in your garden or lawn. The best thing is that you need just four pieces of stuff (worms, food scraps, worm bedding, and a bin) to support the process of transformation trash to natural, entirely organic fertilizer.
What is Worm Composting Exactly?
Worm composting (vermicomposting) is an extremely efficient method of recycling food waste from your kitchen into high-quality compost (worm castings) you can use later in your garden. This way of composting is convenient for both indoor and outdoor collecting which requires just a tiny space and slight effort.
You just need a compost bin or any other container available that are filled with moistened bedding made of leaves and wet newspaper, some red worms, and waste from your household to make useful worm compost.
This natural method is a perfect way for you to recycle nutrient-rich food scraps and get compost (worm castings) without any foul odor. This compost will be an excellent fertilizer for the soil in your garden or patio containers. Plus, you will reduce the amount of garbage from your household.
The really fantastic part is that this worm composter is entirely protected against rodents, gnats, and fruit flies. The only thing you should worry about is how to catch leachate (compost tea) under your bin and protect your floor, especially if it is made of wood.
Always keep in mind that compost obtained in this way is nutrient-rich, but it can’t be a substitute for fertilizer you can get on a traditional way. It is just a perfect solution for you if you don’t have enough space for a conventional compost system.
Why You Should Try Worm Composting
This way of composting kitchen waste is convenient, comfortable, and highly useful. In fact, having a worm composter in your garage or garden makes good sense even though you have already had a traditional outdoor worm bin. I will give you at least three good reasons for that:
- This compost is rich – The fact is that you will get better results and lusher and healthier plants after you use worm castings than any other commercial fertilizer.
- Fast results – You can rely on worms to work quite fast. They can use the most waste from your kitchen and make usable compost in ten to fifteen days.
- Composting throughout a year – Once worms start working, they will do their job throughout the year without disturbance. Just place your worm composter in the garage, basement, or pantry and worms will make compost without any rest. Actually, you can count on excellent worm castings as long as the temperature is above 55 F (12.8 C) and lower than 80 F (26.7 C).
What You Need to Get Started
In general, worm composting is inexpensive and effortless activity. All you need are basic things such as:
Container for Worm Composting
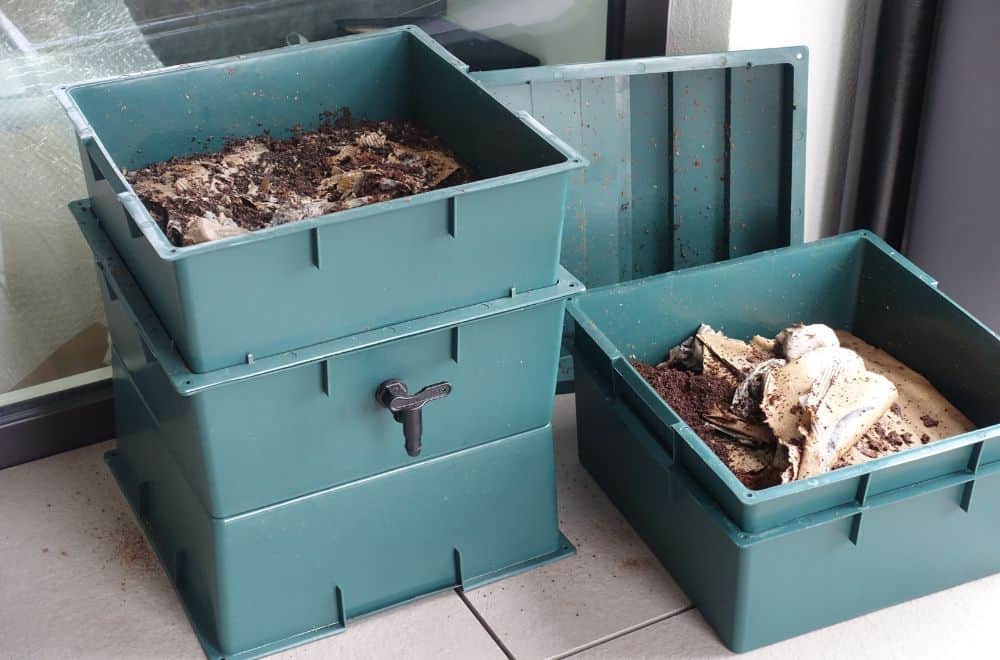
You can buy a simple, commercially made, plastic worm bin, or create the one by yourself. A plastic storage container you can purchase in the local store will do well. On the other hand, if you are resourceful and handle the tool well, you can make wooden container or use bricks to make a homemade worm compost bin in your garden.
Regardless of whether you decide to build a container from wood, metal, or plastic, you should take care to provide at least 1 sq. ft (0.09 m2) of surface area for every pound (0.45 kg) of kitchen waste your household produces per week.
The experts recommend that a container should be from 8 to 12 inches (20 – 30.5 cm) height and 3 feet (0.9 m) long. Don’t forget to make some drainage holes on the bottom of your container, air vents on the top and all sides, and a catch tray as well.
Worms you use like living in a dark environment with a high level of humidity. To provide those conditions, you need to cover your worm bin with cardboard or dark plastic if the container is placed indoors. For outdoors units, you can use a solid lid to protect the content of pests and rain.
Bedding for Worm Composting
To let worms work hard, you should provide moist and drained beddings. It needs to retain both fresh air and the necessary level of moisture. The most desirable beddings for worms are leaves and shredded wet newspaper. However, there are other materials you can use which can provide enough nutrients for your worms:
- Fall leaves
- Egg carton
- Corrugated cardboard
- Dried grass clippings
- Shredded wet newspaper
- Chopped-up straw
- Seaweed
- Aged manure
- Commercially prepared worm bedding
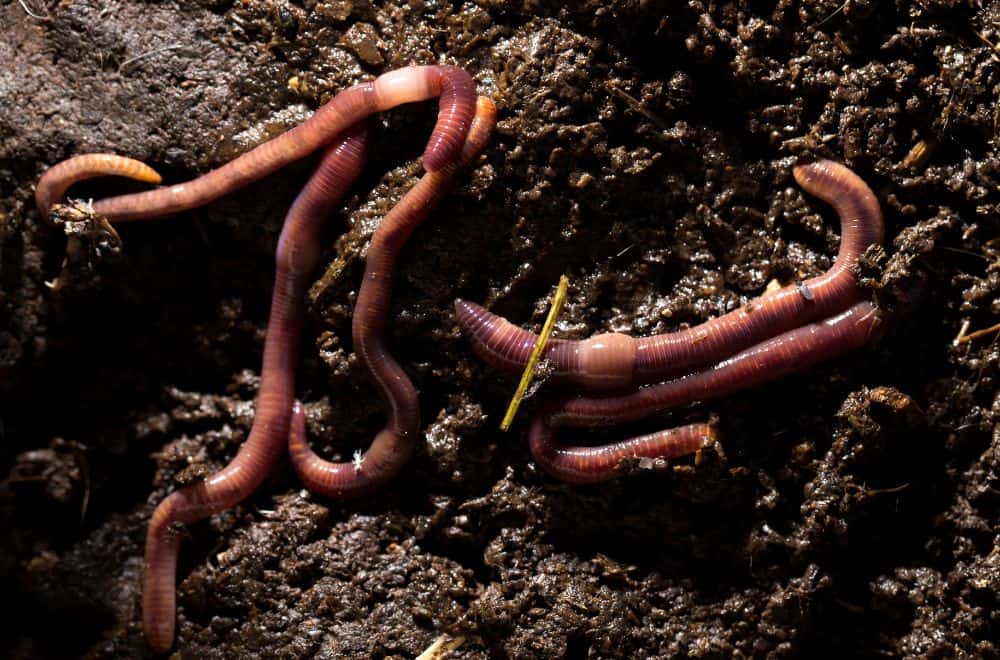
Types of Worms for Composting
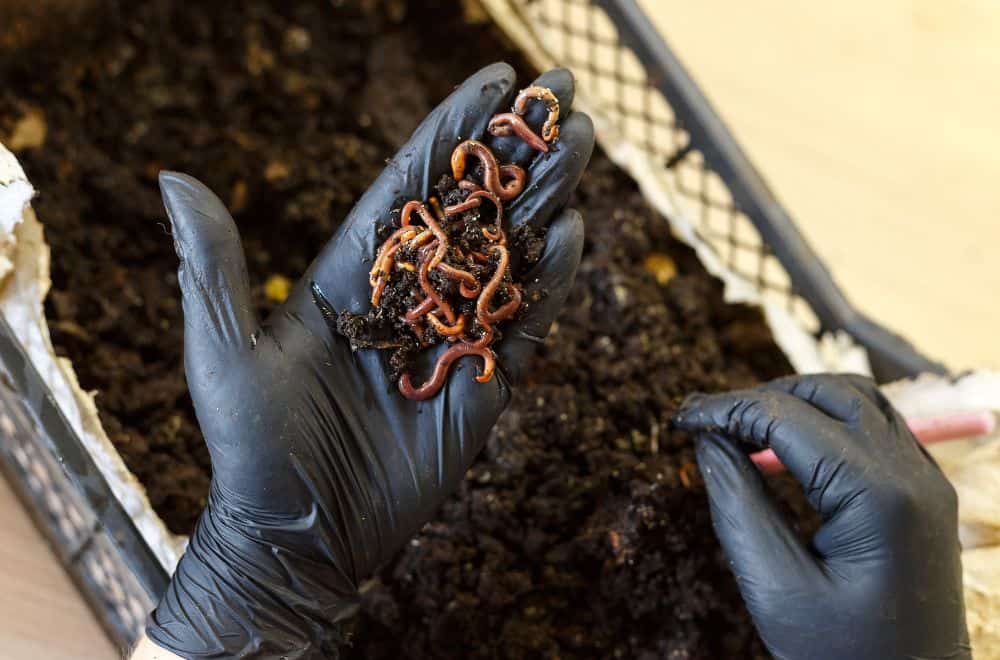
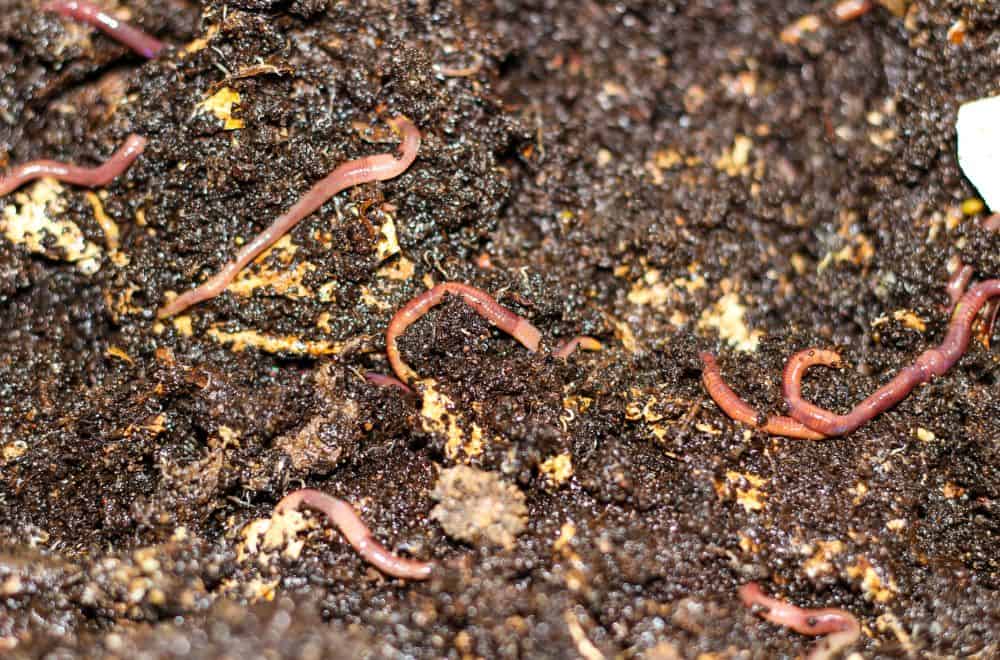
Obviously, worms are crucial for getting vermicompost. For that purpose, you should purchase red worms (Eisenia foetida and Lumbricus rubellus), also known as red wigglers, tiger worms, manure worms, red hybrid, or brandlings.
These worms are the top choice for worm composting considering that they thrive on organic material, including kitchen waste. You can find them in compost heaps, aged manure, and piles of fall leaves.
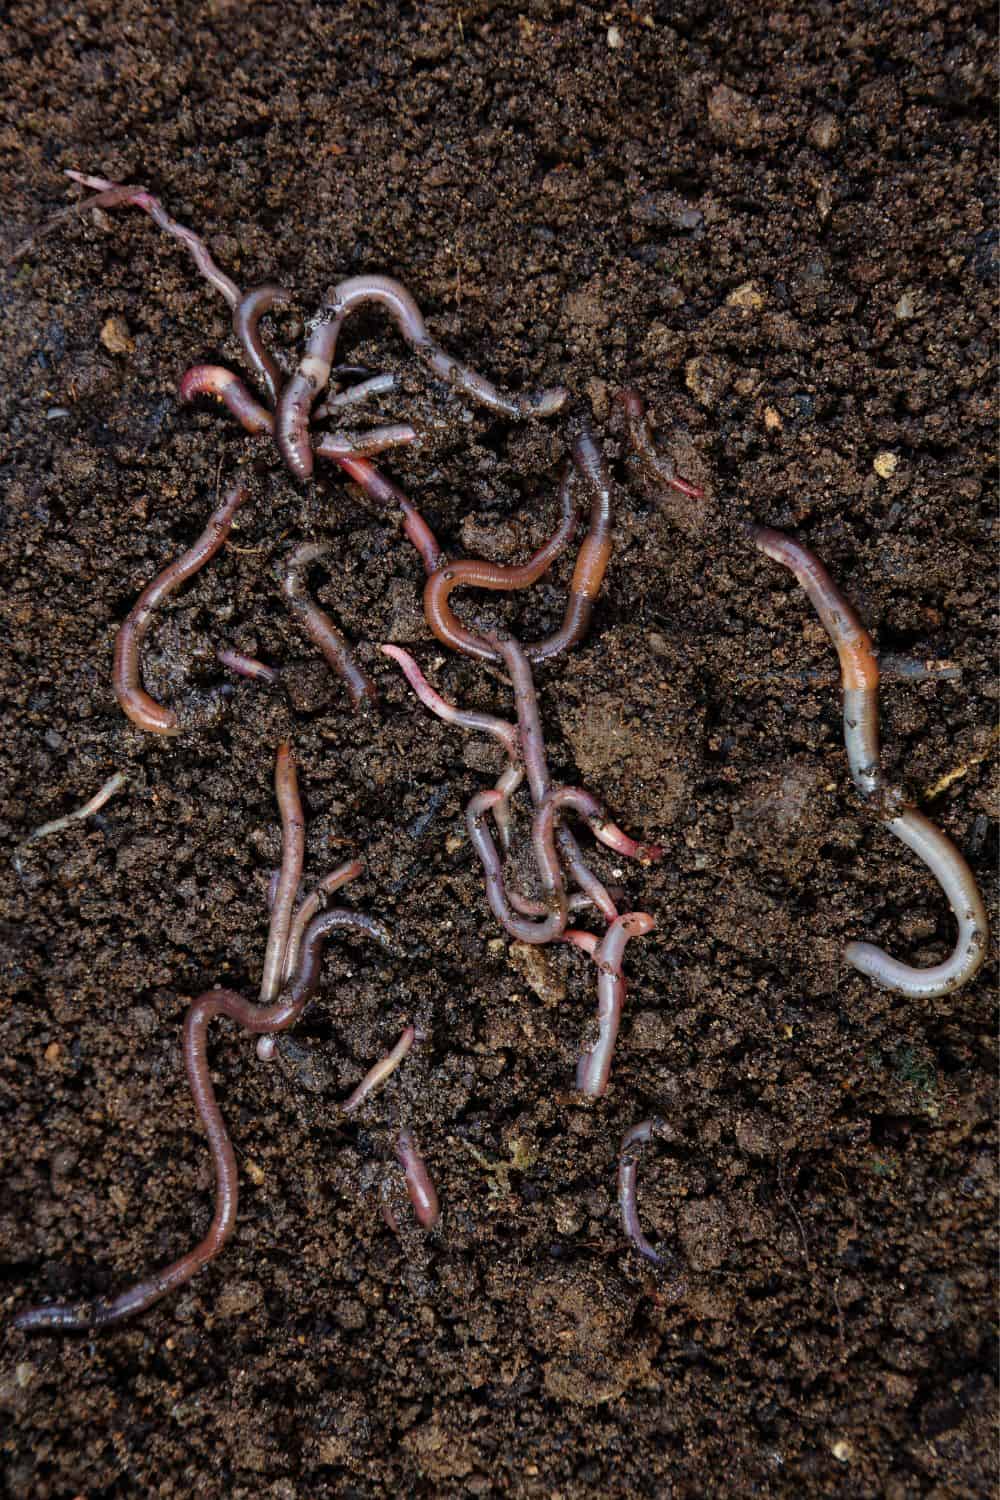
You will need approximately 500 to 2,000 red worms, plus you need to provide the temperatures of 70 F (21 C) to get a high production of compost in your worm bin. Many experts agree that the best ratio is 1 pound (0.45 kg) or approximately 500 worms for 1 pound (0.45 kg) of waste.
However, since red worms multiply quickly, you don’t need to worry if you have less number than recommended. Just give them enough time. They will double their populations every three months.
You can get red worms:
- At the Internet website such as Planet Natural
- Numerous garden catalogs
- From farmers
- At a local bait store
Just avoid adding regular dew-worms in a worm bin! They can’t do the job well.
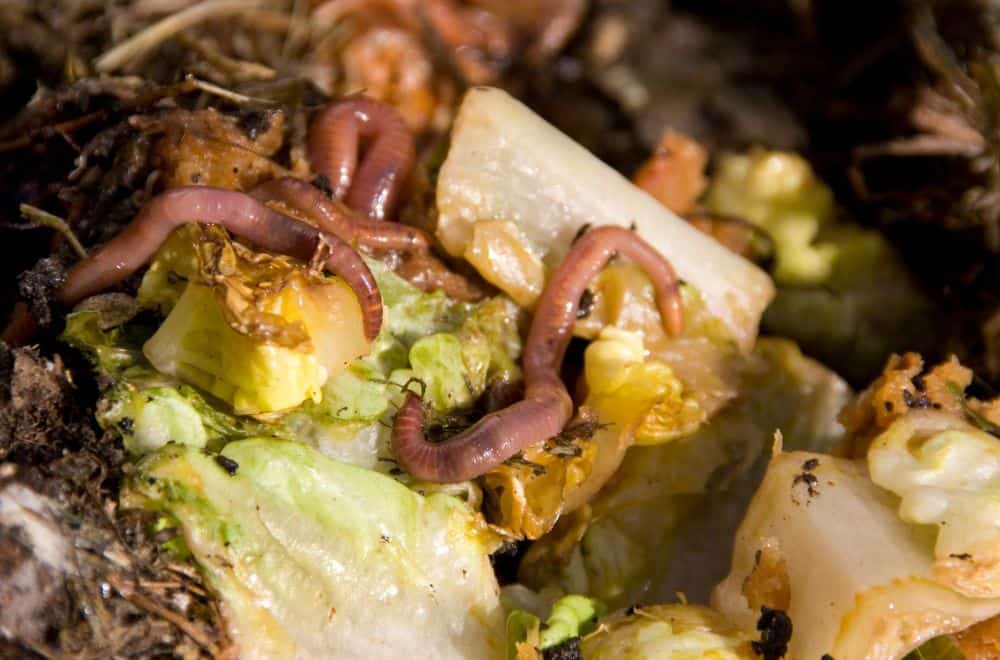
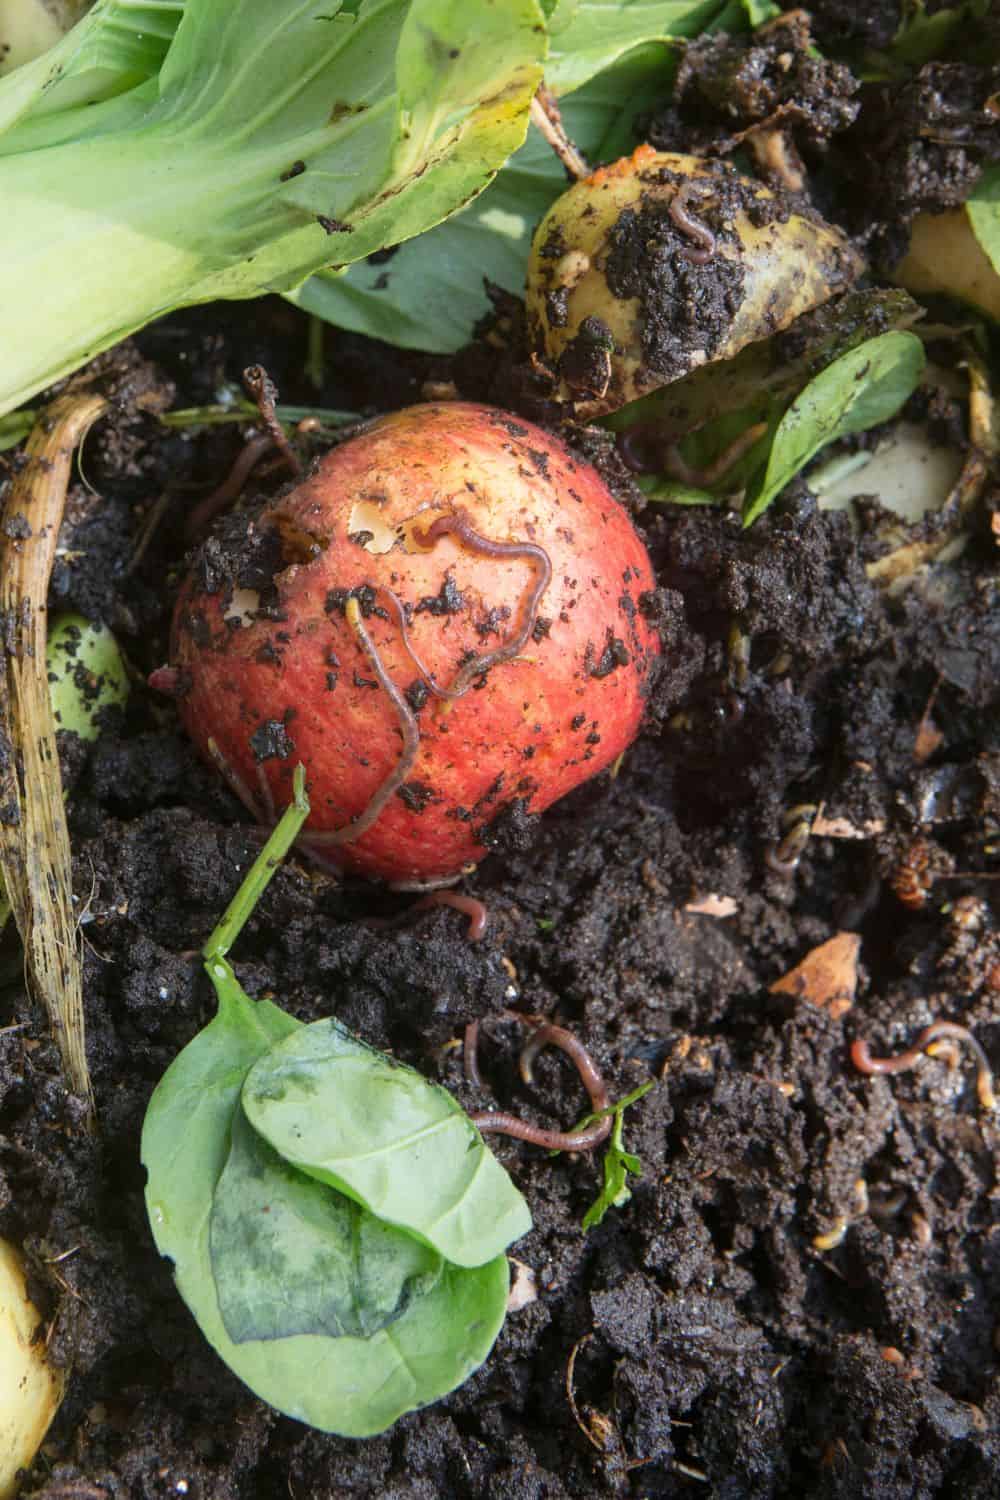
What to feed Worms?
You should take care to feed your worms appropriately. Don’t give them anything you wouldn’t put into the regular compost pile. Actually, keep in mind that worms are strict vegetarians.
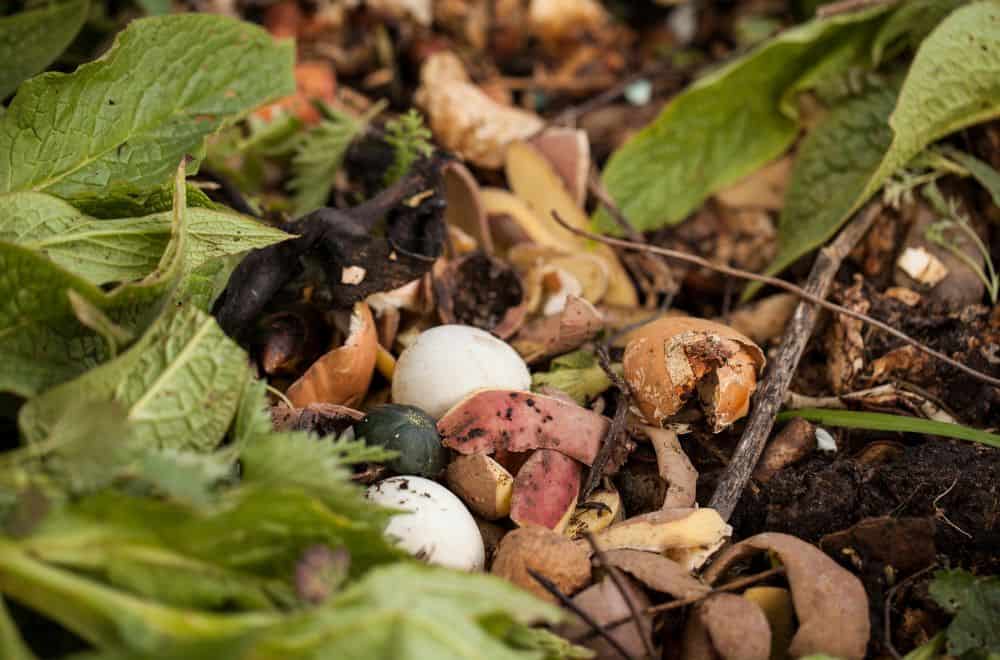
Ingredients you should add to your worm bin:
- Vegetable scraps
- Fruit Peels
- Grains and remains of bread
- Coffee grounds
- Tea bags
- Crushed egg shells
Ingredients you shouldn’t add to your worm bin:
- Meat
- Fish
- Cheese
- Butter
- Any greasy or oily food
- Animal waste
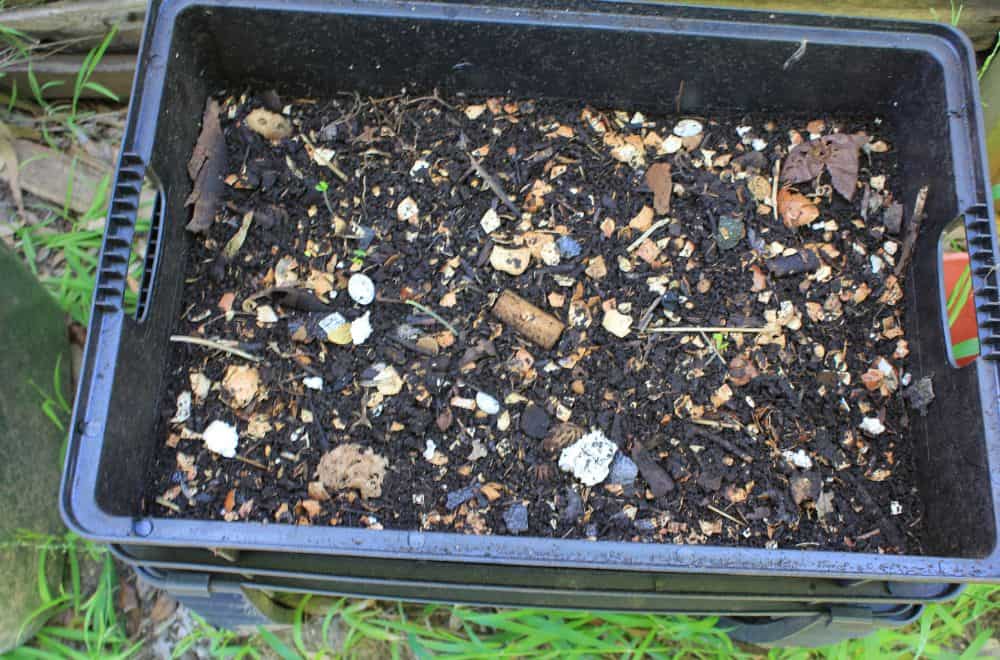
The easiest way to add kitchen waste to your worm bin is to spread it on top of the bedding in a layer which is as thin as possible. The worms will come to the surface of the bedding to eat everything offered.
The other way is the so-called orderly method which implies dividing the worm bin into a few imaginary sections. Put some food scraps into each ‘section’ and cover them with 1 inch (2.5 cm) of bedding. While you finish with the last ‘section,’ worms will compost most of the waste from the first one.
If you notice any foul odors, you should decrease the amount of waste added or chop it into smaller pieces.
Worm Compost Harvesting
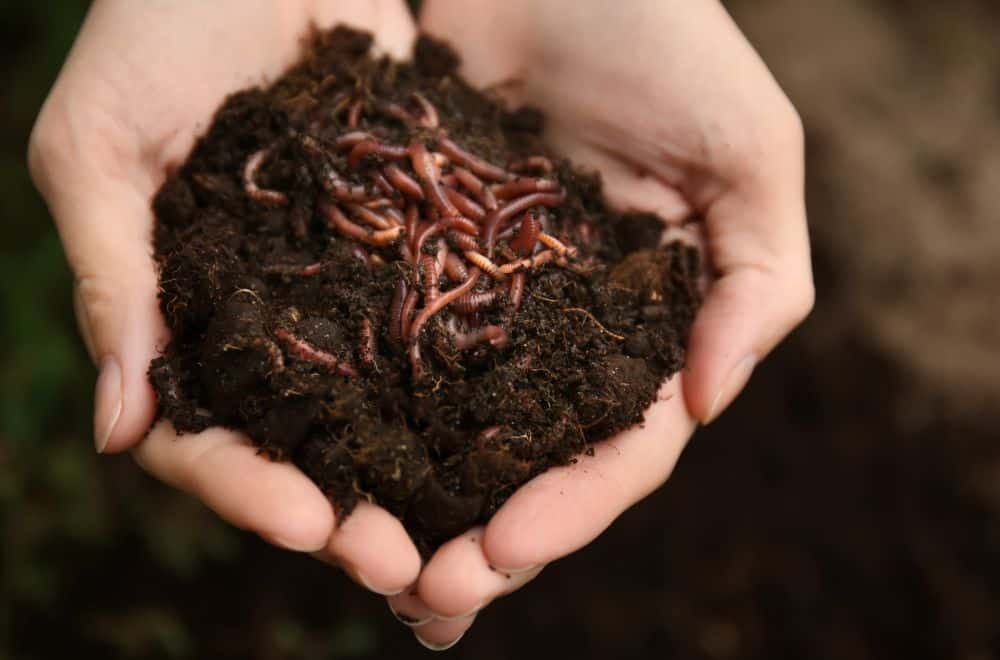
In general, you can expect first harvesting after approximately three to four months. In that period, the worms will digest nearly all the waste and bedding. When you notice that your worm bin is full of a rich, black, natural fertilizer, you can be sure that it is the harvesting time!
Worm castings contain a high level of humic acids. Also, this compost has eleven times more potassium, seven times more phosphorus, and five times more nitrogen than garden soil. As a result, it improves the structure of the garden’s ground and the soil in the pots.
As a natural by-product of worm composting, you will get a compost tea. That liquid leachate is highly rich in nutrients, and you can use it as a balanced fertilizer for your plants. To get it, you just need to make holes on the bottom of your worm bin, so that the tea can drain into a pan placed under the container.
Gathering the worm castings
To keep your bin active, you have to remove the castings from your compost bin from time to time. There are the most practical ways to do that:
- Gather castings off the top – Point a bright light into the worm bin to force worms to move to the lower layers of beddings. Remove the thick layer of casting from the top by using your own hands. Put the worms and their eggs back into the bin and refill it with fresh layers of kitchen waste and moist bedding to start the new composting process.
- Push castings to the side – You can push the decomposed material to one side of your worm bin while filling its other side with new bedding and kitchen waste. After a few days, the worms will migrate to that new part of the beddings, and you can collect the finished compost without much effort.
- Sort through castings on a tarp – Take out the contents from the container and put all of it onto a tarp. Sort the castings into one pile and worms in another one. Use worm castings for fertilizing your garden, and put the worms back into the worm bin. After adding moist bedding, you will allow starting the new composting process.
The Most Common Mistakes While Worm Bin Composting
If it is the first time you make your own worm compost, take care to avoid the most common mistakes.
1. The wrong temperature
Composting worms need a precise temperature range to be productive. Therefore, you should take care that the temperature in the worm bin and bedding is not lower than 54 F (12 C) to avoid slowing down the worm’s activity. If the temperature level is below freezing, you can expect worms to die.
On the other hand, the temperature above 84 F (29 C) will probably cook the worms in the container. In some cases, you can keep the temperature under control by using ice, insulation, bin blankets, moisture regulation, and even relocation.
2. Wrong food waste
Your worms prefer a healthy, vegetarian diet and waste chopped in small pieces. Too big pieces of food need a lot of time to break down and usually cause a foul odor.
Also, you shouldn’t add any processed food, salty snacks, meat, fish, spicy and greasy foods, or yogurt to your worm bin to avoid spoiling its content.
3. Highly wet or too dry bedding
You can’t pour gallons of water in your worm bin or to become negligent and let the content of the container dries out. If composting beddings become too wet, you can expect content to become stinky, and consequently, your worms will probably die.
On the other hand, too dry beddings will cause dehydration of your worms. In these conditions, they will stop breathing and become inactive.
Therefore, you should check the level of moisture in the worm bin regularly. Just pick up a little bit of content and squeeze it. If you notice water coming out, you will know that bedding is too wet.
4. Don’t forget to harvest worm castings on time
When you get finished compost, you need to harvest it on time. That means that you have to separate worms from mature compost. Take care that the whole process shouldn’t last more than one hour, to keep your worms healthy.
The best periods for harvesting worm castings are:
- At the very beginning of the growing season
- The end of the season of growing
- When worm bin is full
- If you notice extra worm castings inside the container after three months of keeping the worms
If you get more worm castings than you need, you can share it with your neighbors!
Leave a comment