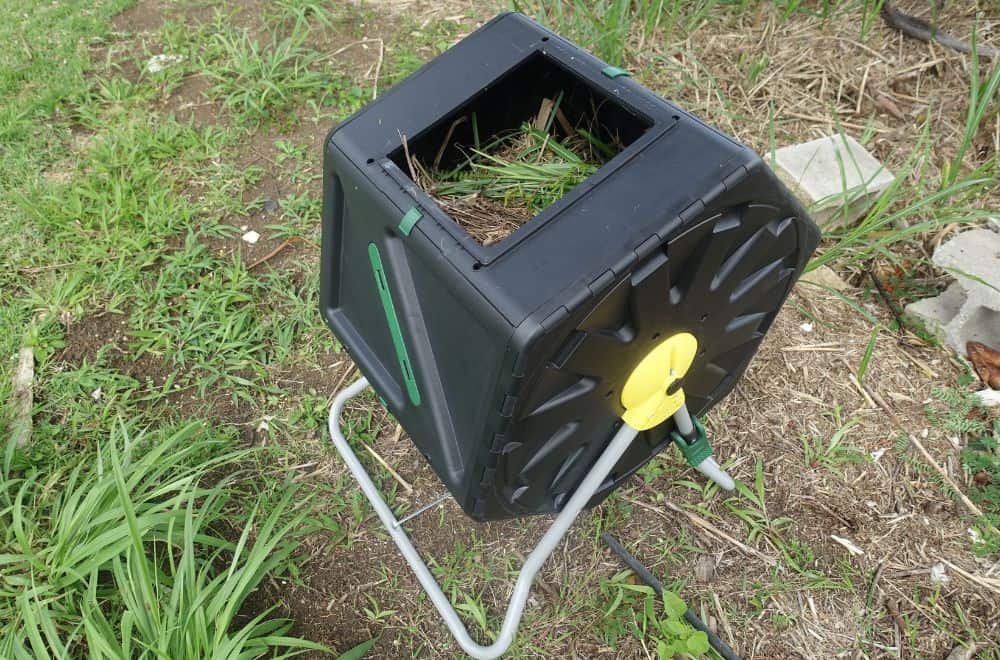
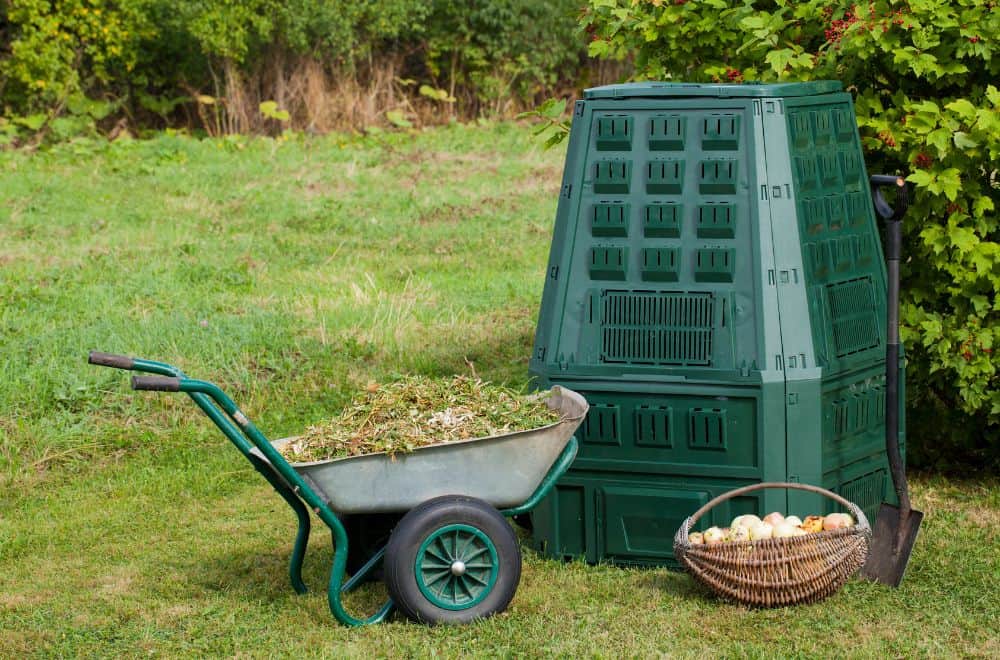
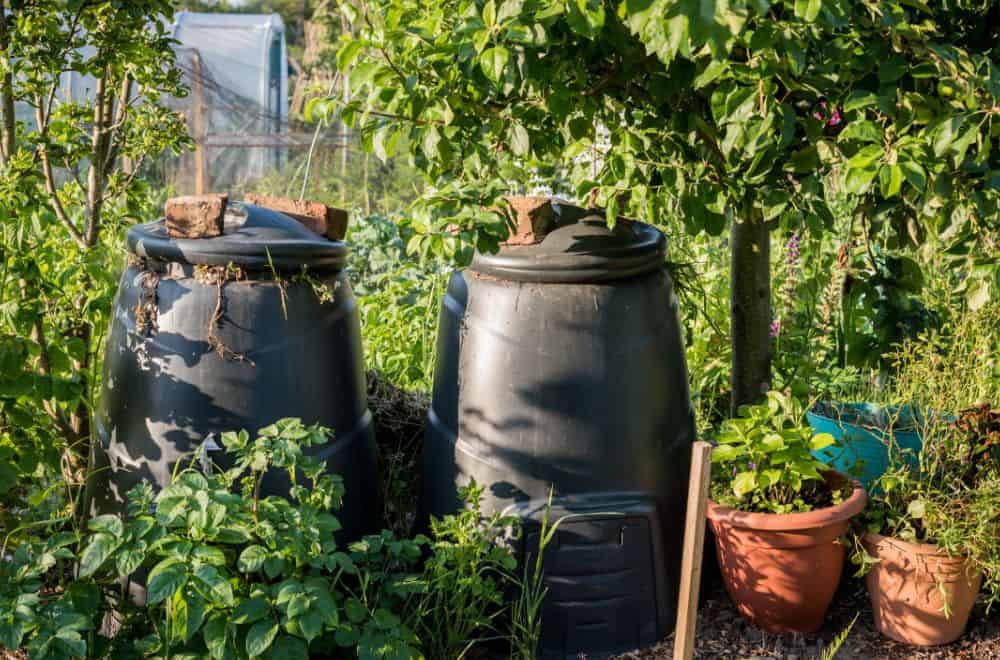
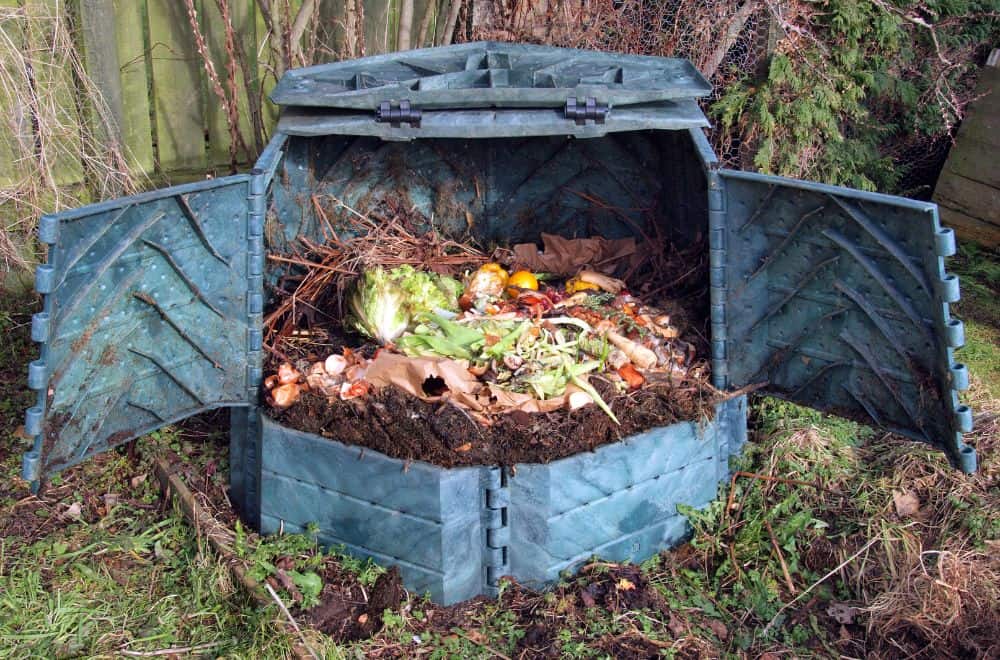
There are a lot of reasons to use a compost tumbler, especially if you want to produce high-quality compost. It is basically a plastic bin, usually made of durable, often recycled plastic.
Since it provides enough oxygen flow, this unit is an excellent solution for composting various ingredients, including food waste and garden clippings. The goal is to use bacteria and fungi to get broken down material in well-aerated conditions.
Why Picking Out a Compost Tumbler
The advantages of these units over traditional ways of composting are numerous and include:
- A faster-composting process which is easier than traditional methods of composting
- Less hard working since you just need to turn the material regularly by using a convenient handle
- Less mess in your yard
- Effective elimination of waste from your house
- Saving money for buying expensive fertilizers to maintain your garden
- Just limited space for your unit
How to Use Your Tumbler Like a Pro
1. Balance the nitrogen and carbon ratio in your compost material
Always keep in mind that compost tumbler is an entirely closed system. The first thing necessary to do, if wanting to get excellent finished compost in a couple of weeks, is to balance carbon-rich brown material with the nitrogen-rich green content in an adequate ratio.
In general, an ideal carbon-nitrogen ratio required for making excellent compost is approximately 25:1 to 30:1. If you add too much of one or the other material, you can’t expect the desirable result since a higher ratio results in slower composting rates and a smelly compost pile.
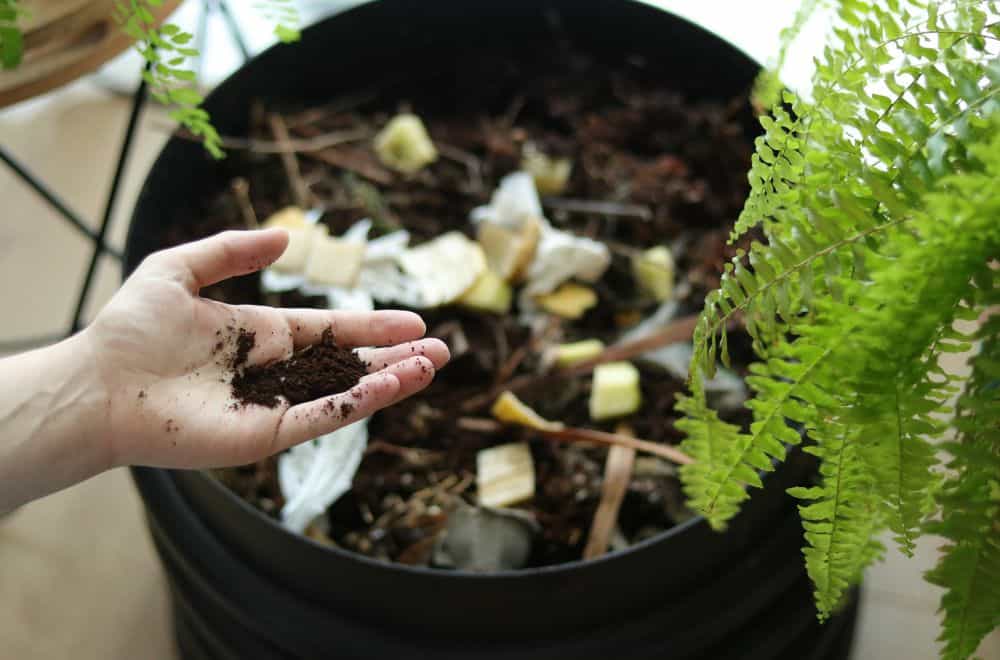
You can expect that waste produced in your kitchen (fruits, vegetables, coffee grounds, or leftovers) contains a high percentage of nitrogen. Therefore, you need to balance your compost with waste rich in carbon (leaves, straw, shredded paper, or sawdust).
To get the best possible compost for your garden, you need to maintain an approximate ratio of 1:3 of green and brown wastes.
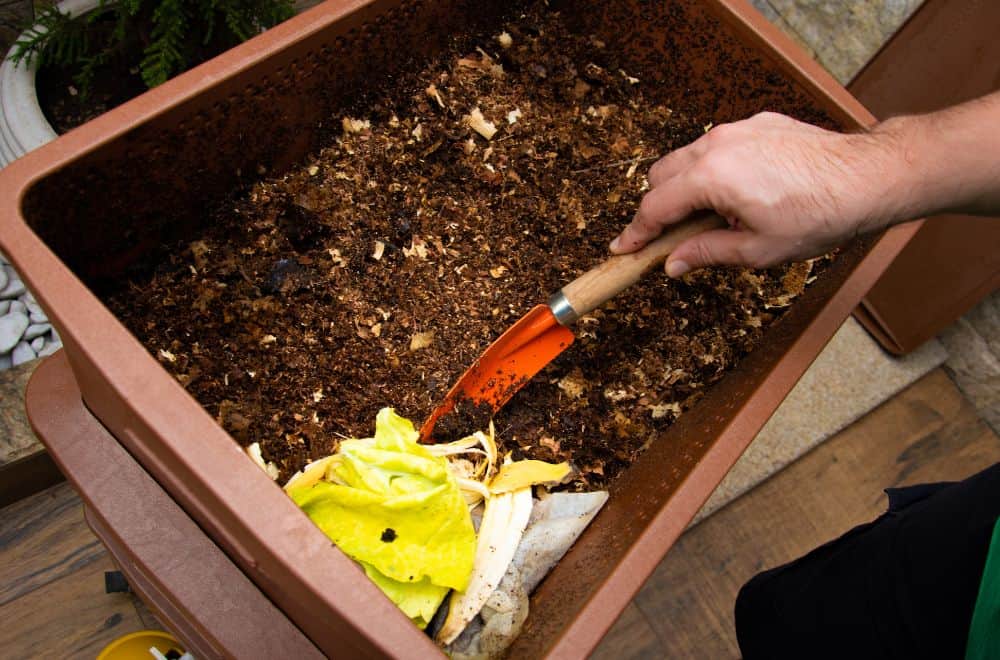
2. Shred and chop the compost material

Making small pieces of waste you want to use for composting will help the activity of the microbes and speed the whole process.
If you don’t care about time, you don’t need to chop material which goes to your tumbler. However, if you want to get compost for a few weeks, shredding material into smaller pieces will allow bacteria to reach a larger surface area and break down all the stuff faster.
Keep in mind that the brown material needs more shredding because it takes longer to decompose.
Just take your time, use a food processor, knife, chipper shredder, or shears and chop the waste into small bits, not bigger than 1-2 inches (2.50-5 cm), and you will help bacteria to finish their work smoothly.
Unlike the compost pile and worm composter, which include work of earthworms and small animals affecting the composting material, you can’t rely on them when using a tumbler. Since it is a closed unit, you can’t add these small creatures into the content because high temperature will kill them.
3. Activate the first batch with a compost activator (additives)
When you start using your compost tumbler for the first time, you will probably need to add some compost activator since the unit is sterile. The waste from your kitchen and yard is naturally covered with bacteria and fungi, but you need to help them work from the very beginning.
Therefore, you should add some natural compost boosters such as old compost, horse and cow manure, or healthy soil to boost the process. If you haven’t got any of those pieces of stuff at your disposal, go to the local market and buy a compost activator.
In general, you need to use booster only for the first few batches. After that, just avoid cleaning the tumbler between two batches and the bits of old material will activate your next batch.
There are a lot of pros and cons of additives. Basically, you don’t need to use them at all if you are not in a hurry. If you decide to speed up the process of composing, it is OK to add them.
It’s up to you to buy some reputable products. They are just a material rich in nitrogen you don’t need if the mixture of waste you use is excellently balanced. Such a regularly mixed heap will build up necessary microorganisms on its own.
There is one more thing. Believe it or not, the highly effective and cheapest natural additive is – human urine. Whether you want to pee in your tumbler or not will depend solely on your preferences.
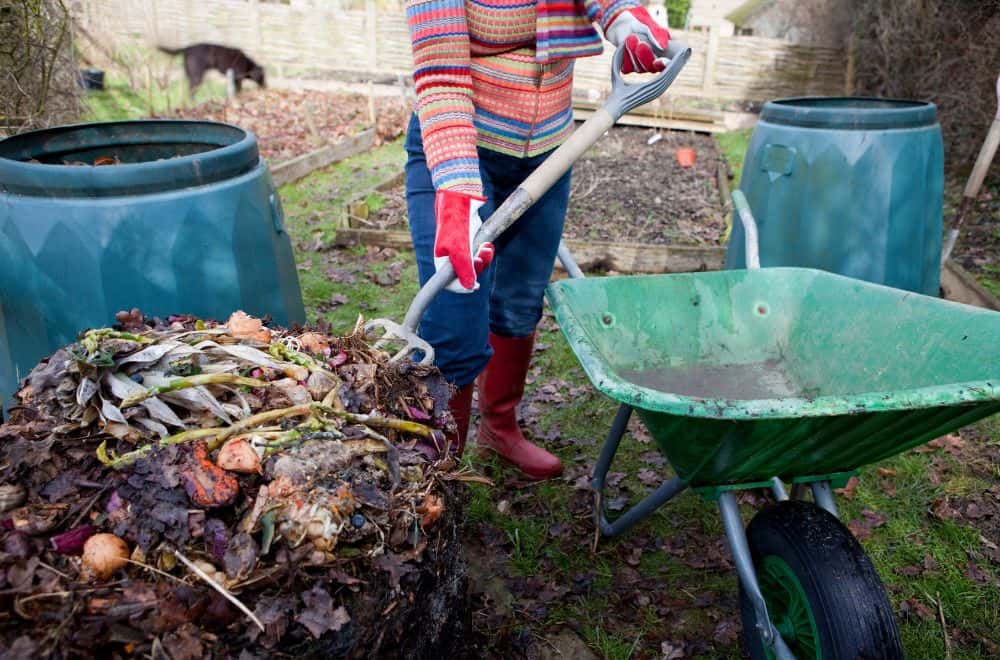
4. Make a batch of compost
Since compost tumblers are usually small units, it is always an excellent idea to think of a batch of ingredients in advance. Just add them until reaching the limit, and mix all the content up for a while. However, avoid opening your unit halfway and adding more material once it starts cooking.
If you overload the composter all the way, the content can’t mix correctly. Don’t forget that converting stuff to compost will start after you stop adding new material to the pile. You can expect to get mature compost approximately two to three weeks after you finish filling your device.
To avoid piling up the kitchen scraps, you can buy two compost tumblers. Maybe you should consider purchasing a dual compartment composter. This way, you will have a place for maturing one compost material, and the other one for adding new ingredients.
5. Turn your compost tumbler regularly
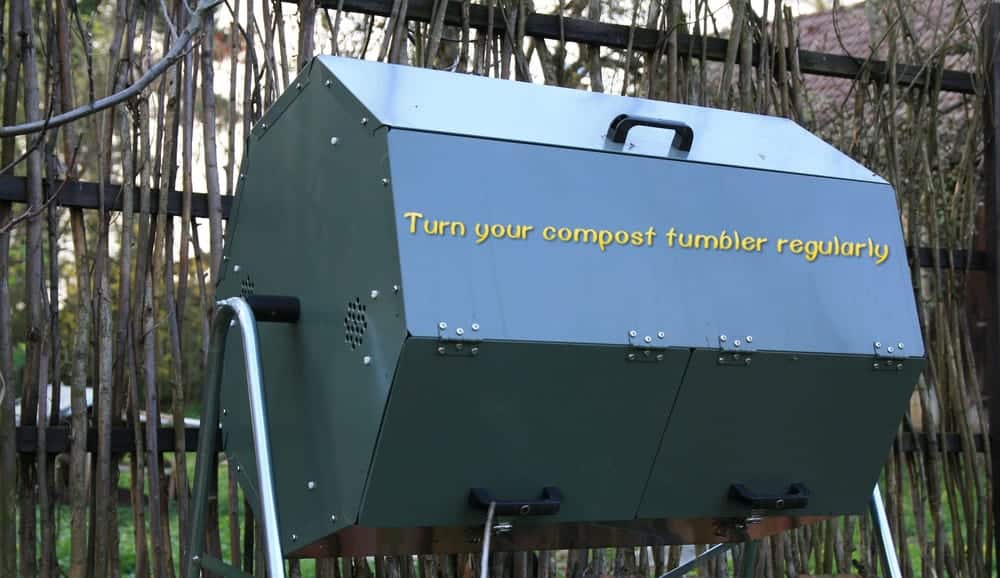
Adding the compost material and required additives into your compost tumbler is not the only thing you need to do. Actually, you should spin it from time to time by turning the handle if there is any or to rotate the tumbler itself.
Keep in mind that you need to rotate the content regularly to support the process of aeration. The simplicity of turning your tumbler is its most significant advantage. Unlike the regular compost bin, these units often have handles, which turns hard work into a lightweight activity that almost everyone can finish.
How much time you will rotate your unit will depend on its model. However, the essential thing is to do it daily and to repeat spinning as many times as it is specified.
In the very beginning, it is not necessarily turning your compost tumbler too often. In a matter of fact, avoid spinning during the first week to avoid disrupting the heating process of the material. After that period, start with a regular spinning, especially if the temperature outside is low.
6. Monitor the smell of the material regularly
Check the contents of your tumbler regularly to register any change in smell on time. If you notice a foul odor, it usually means that the compost ratio is disturbed. When a scent resembles ammonia, it is the clear sign that you should add more brown waste into the tumbler.
The appearance of the overpowering smell of grass is usually a sign that your compost is not aerated correctly. You can quickly decrease this odor after mixing the compost.
7. Take care about the temperature inside the tumbler
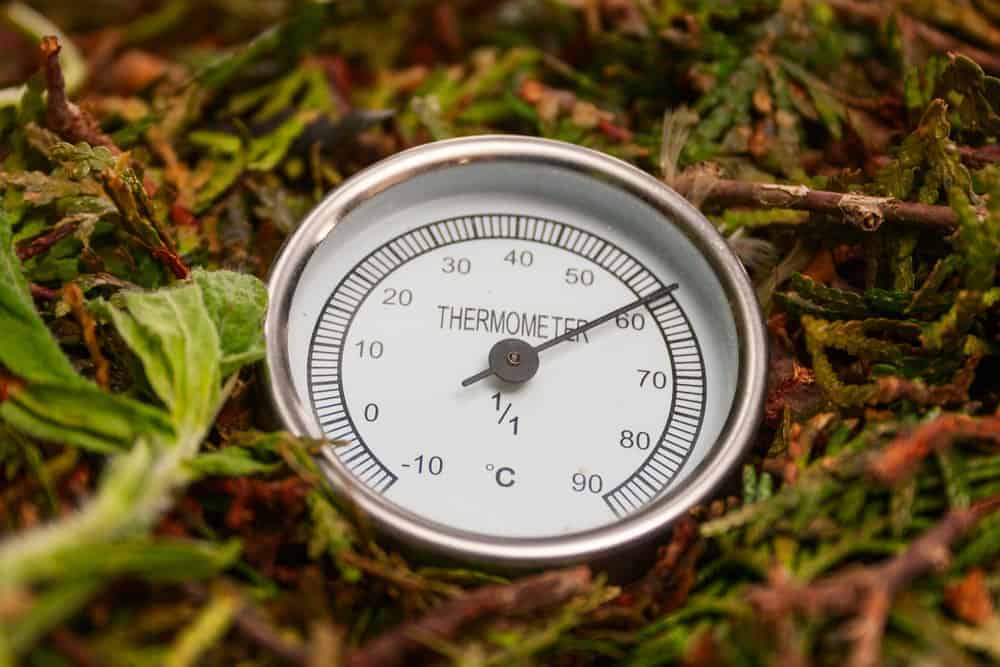
Maintaining the adequate temperature inside your tumbler is crucial since a higher temperature will increase breaking down the compost material. Also, it will allow killing almost all weed seeds and unwanted pathogens.
Keep in mind that the lowest temperature crucial for smoothly composting can’t be under 140 F (60 C). Use a thermometer and check it regularly.
In a case that your compost cools too much, you should add manure or ingredients which can increase the level of nitrogen fast and provide more heat in a short period.
8. Keep a steady moisture level inside the tumbler
Keeping a steady moisture level is crucial for the compost material. The ideal level of humidity in your unit is approximately 50 to 60%.
If you live in the area with a dry climate, you need to purchase a tumbler which keeps the material wet efficiently. On the other hand, in the areas with lots of rain, you need a tumbler which will keep your compost away from getting soggy.
Also, take care to make an excellent ratio of added material. Too much-wet ingredients will make your compost rot and stink. On the contrary, too dry ingredients will stop breaking down the way you want, and the process will last much longer.
What should you do? If your pile gets too wet, just add some wood stove pellets, shredded paper, or dry sawdust. They will absorb excess moisture and let your compost mature on a proper way.
If the content of your tumbler is too dry, you need to add a cup of water and turn the unit after that.
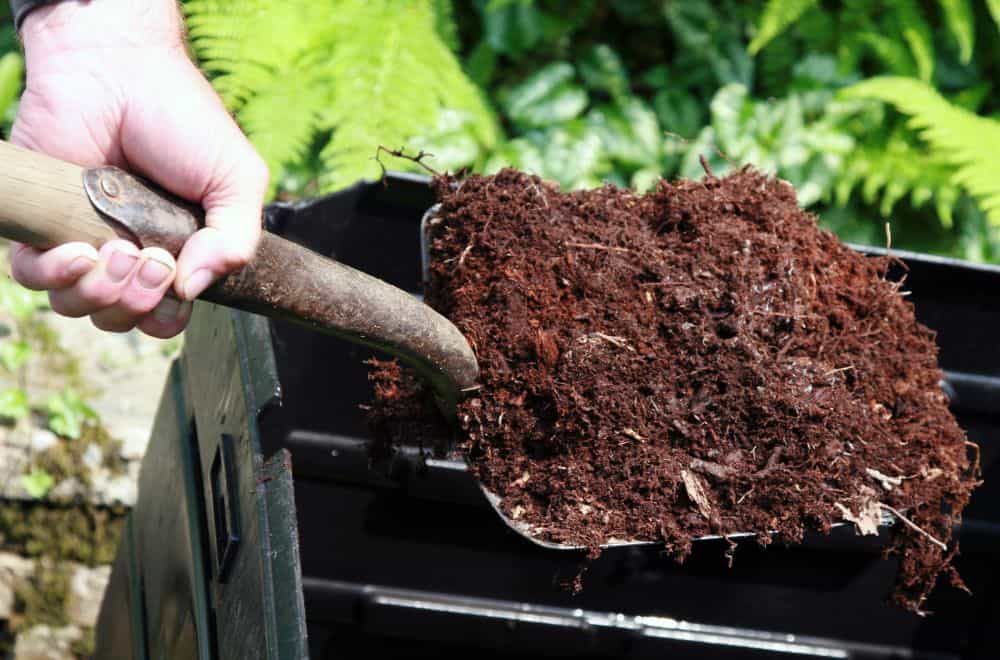
9. Check the color and consistency of the material
From the very beginning be aware that the color and consistency of the composting material won’t depend on the color of the materials you use or the compost itself.
It can be green or brown determined by the level of carbon and nitrogen. In other words, your compost will become brown with an increased level of carbon. On the other hand, too much nitrogen in the material will cause a green color of the content in your tumbler.
When the process of composting is finished, you can expect your compost becomes dark brown. As for the consistency of your mature compost, it is quite similar to the soil. Only then you can use it in your garden.
Advantages of Using a Compost Tumbler
From my experience, a high-quality compost tumbler has a few desirable advantages:
- Avoiding pests – It is an elegant solution against mice and rats. You can combat these horrible animals in so many ways, but the right tumbler will provide an immediate solution.
- Greater selection of ingredients – Since the tumbling allows adequate aeration, you can add various ingredients in your tumbler, including small amounts of fat, fish, and even meat. Don’t worry! The high temperatures will break down those materials quickly without any risk of attracting pests.
- No problem with the result of anaerobic decomposition – With softer sappy material or grass clippings, you will have a problem with anaerobic decomposition in a regular compost heap. However, thanks to proper aeration, your tumbler is an ideal solution against unpleasant smell. Also, it has drainage holes for the water passes, which reduces the humidity of your composting material. Just keep in mind that you still need to add dry content to get balanced compost in the end.
- Avoiding hard work – Most people want to use kitchen waste to improve the quality of the soil in their gardens, but don’t enjoy hard working. If you are one of them and don’t want to work hard, or may have some back problems, the tumbler is a great solution. Thanks to a handle for spinning your unit, you can turn your compost without much effort.
- Your own enjoyment – Believe it or not, many people enjoy the process of composting. It is actually a great feeling when you make something useful from the garbage. Instead of throwing waste in the trash, you will get useful compost and save your environment clean at the same time.
- Educational aspect – Involve your children in the process of composting and teach them how to improve the quality of life for both themselves and the community. Plus, they can always monitor the growth of plants in your garden, follow the impact of compost on them, and enjoy the results of their own labor.
- Getting ultra-fast results – By using your compost tumbler, you can get excellent compost after just a few weeks. It is practically impossible with the usual composting pile.
Conclusion
In the end, I can summarize that the best way to make excellent, dark, soil-like compost in your compost tumbler is to choose a conically shaped, sizeable unit.
Take care of the carbon and nitrogen balance, moisture level, and the temperature, and you will be astonished by fantastic results. Go for it!
Leave a comment