If you are one of those people who have a really large lawn, you will probably need a self-propelled lawn mower or electric cordless lawn mower to mow it. However, if your yard is of average size or smaller, there is no need to look for such expensive and robust machines.
Purchasing a weed eater is probably the best solution you can make in such a situation. Now, you just need to figure out how to start your lovely new device, and the process of making your yard beautiful can begin.
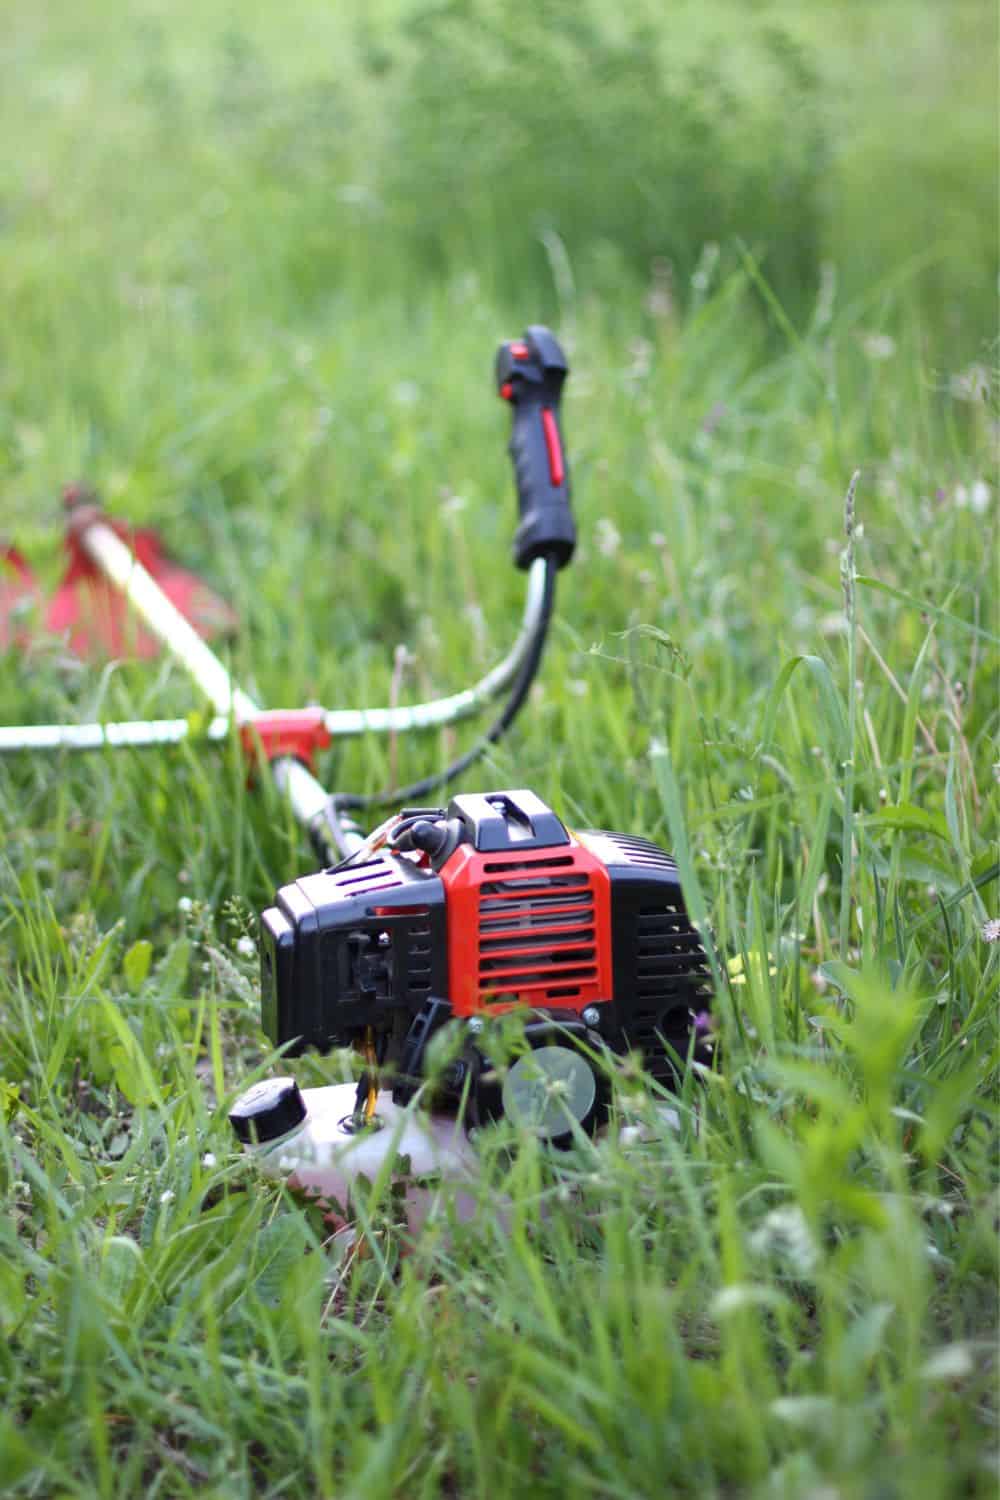
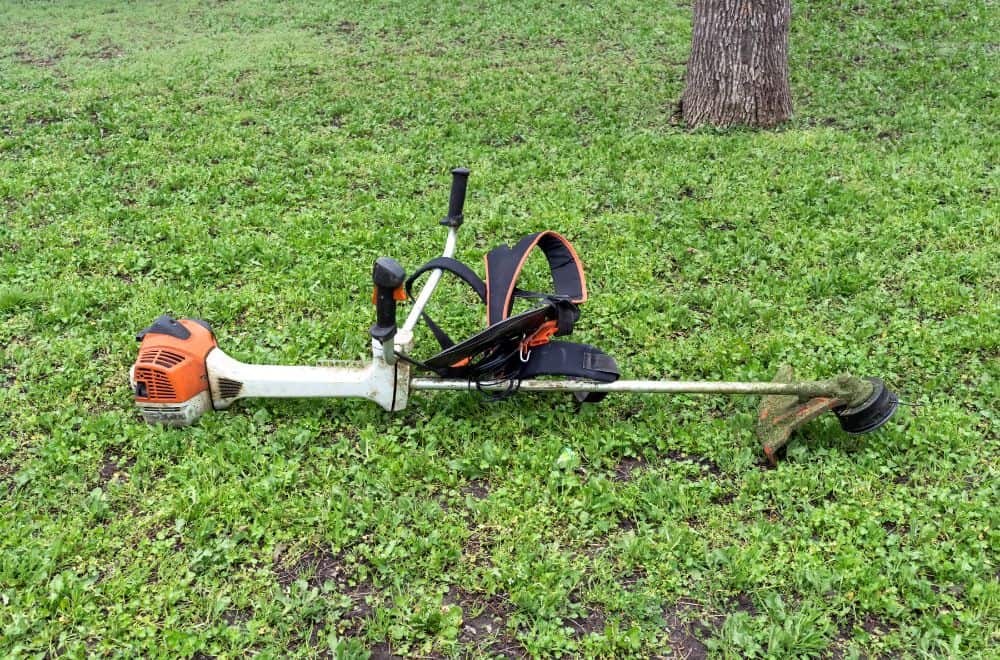
Starting a Gas Powered Weed Eater
In general, it is not too hard starting your weed eater. If you have a model powered by gas, the procedure I am giving you here will help you to do the task without too many effort and stress.
Step 1. Find the right place

Put your unit on the flat surface and move every possible obstruction you spot around. This part is essential since it will give you more space and comfort to try to start the machine. I am pretty sure that you don’t want any fence or rocks disturb you during the process of starting your new weed eater.
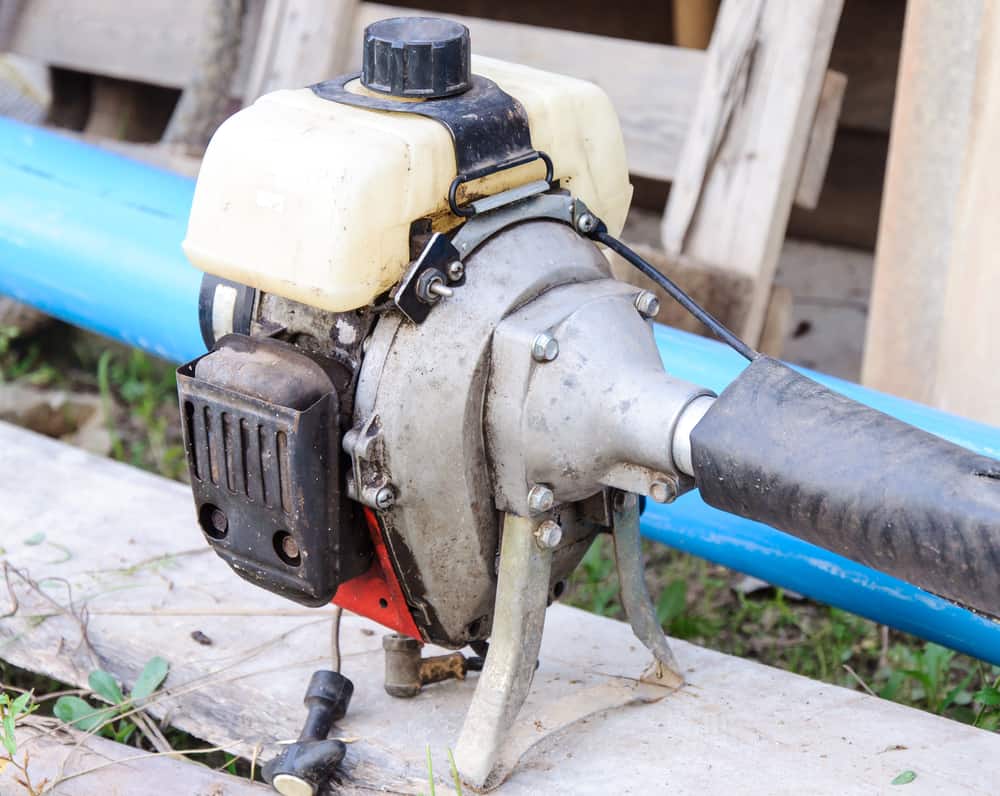
Step 2. Check the gas tank and fuel
The first thing you should check before trying to start your weed eater is if the gas tank is closed up. Also, be sure that you have used the right mixture of gas and oil typical for the model you have.
Step 3. Switch the machine on
Find the power ‘on/off’ switch and switch the unit on. This button controls the electricity which runs to the motor, and you definitely can’t start the engine if it is in the ‘off’ position. Keep in mind that its location can vary depending on the model of weed eater you have bought. Usually, it is placed somewhere on the shaft.
Step 4. Switch the choke on
If you want to ‘cold start’ your unit, the next step is to switch the choke to the right position. There are two possibilities – ‘on’ and ‘closed’. A term ‘cold start’ implies starting your engine when its instant temperature is lower than the one it usually runs at.
The point of choke is to restrict the airflow into the eater’s engine and to make starting it much effortless. On the other hand, if you have already used your unit in the past few minutes, the engine is probably still warm enough, and you don’t need to switch the choke on.
Step 5. Press the purge valve

Pressing the purge valve is a necessary step when you try to cold start the weed eater since this piece of equipment allows fresh gas to get into the carburetor of your device. You just need to find this bulbous piece of rubber similar to the tip of your finger and press it approximately five to six times.
Sometimes, especially after long-last storing, it can happen that the engine doesn’t want to start without pressing the purge valve. Just keep pushing, and everything will be just fine.
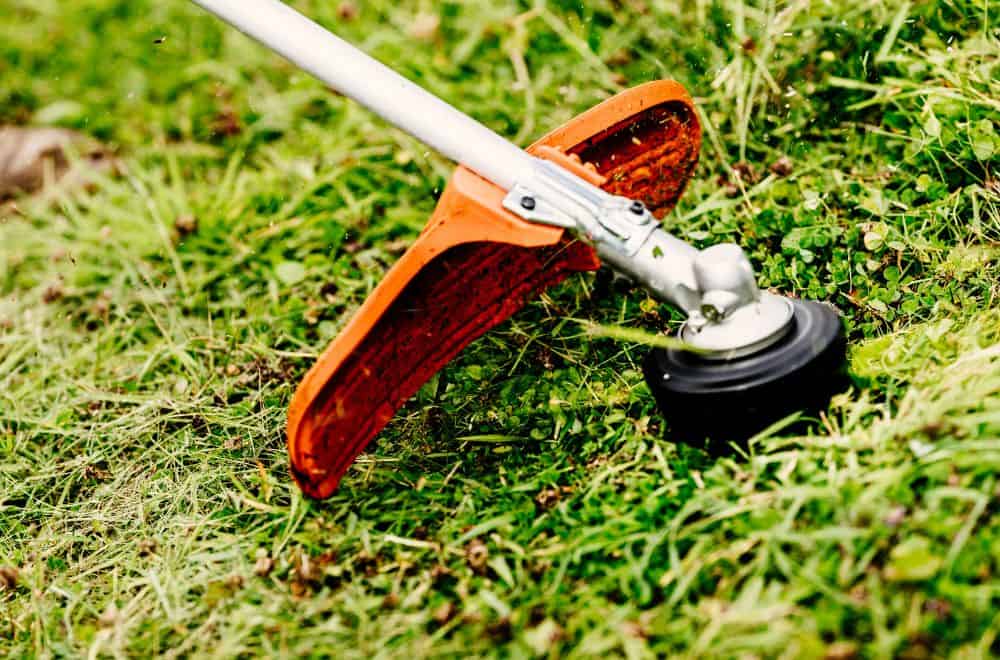
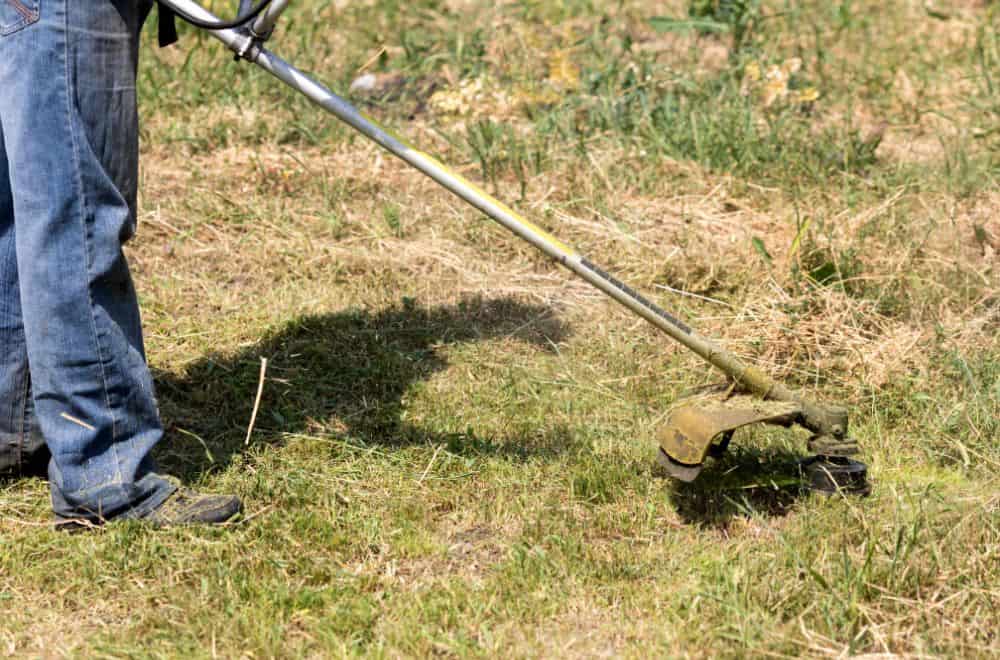
Step 6. Pull the cord
After placing your hand on the weed eater’s throttle lock, you should pull the cord. You can find this small lever of your unit called the ‘throttle lock’ on top of the shaft. The only thing you need to do is to pull the cord a few times before the engine of the device starts running.
Take care not to pull on the trigger below the shaft since there is no need to give your weed eater any gas for starting at that particular moment.
Step 7. Run the engine

Once the engine starts running, you can stop pulling the cord. The engine of your unit needs about fifteen seconds to warm up.
After the engine starts working well, you can switch the choke off and let air flow resume appropriately to the engine. That will decrease fuel consumption and keep the engine efficient.
Let the engine run for at least five minutes without pressing the throttle lever. After it warms up, you can press the trigger once to release the throttle lock.
Your gas powered weed eater is now operational.
Starting an Electric Weed Eater
In general, starting an electric weed eater is much more comfortable than running the gas powered unit.
Step 1. Plug the device into an outlet
Your first step is to plug your device into an outlet. If your yard is sizeable, you should buy an extension cord. How long cord you need to add will depend on the area you want to cover.
If the lawn you need to trim is quite vast, you have to choose a model of the weed eater with a clip on the handle. This is a useful accessory for looping the extension cord. Also, it will prevent the unit from disconnecting if you accidentally get it caught while using the machine.
Step 2. Check battery
In a case that you purchase an electric device powered by battery, don’t forget to charge it before the moment you want to begin working.
Step 3. Pull the trigger
Before starting, check if the trigger is not held down when you try to plug in your weed eater. Then pull it gently. I prefer having the electric weed eater because I start it without too much effort. I find it a great advantage.
Firstly, it is not a complex machine at all. Secondly, it is ready to work immediately after plugging in. Actually, as soon as you pull the trigger, the string will start spinning, and you can begin your job.
Conclusion
Before going shopping the new weed eater, you need to consider differences between an electric and gas-powered weed eater. I can’t say which one is better, but you should be aware that starting a gas-powered unit requires a particular procedure.
On the other hand, starting an electric weed eater is quicker and more comfortable. Its disadvantage is that this unit will probably need an extension cord, especially if your yard is one of the bigger ones.
Find the best model for your needs and preferences, and make your yard outstanding!
Leave a comment